i attached a camera to my window
this page is best viewed with hdr! standard screens will look okay (i tried my best), but if you have a phone that supports it, i'd recommend viewing this with that.
yes, i have a camera attached to my window! the view out my window as of :

this is live! (takes ~10 min to process and update)
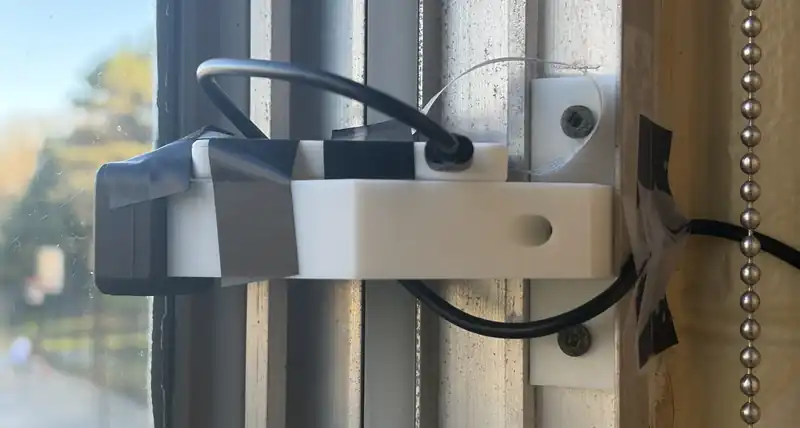
it's captured by this little thing!
what's the point
i currently live at the university of waterloo's "rev" residence, and compared to the other rooms here, i actually have a pretty good view! it's especially pretty in the morning when the sun rises.
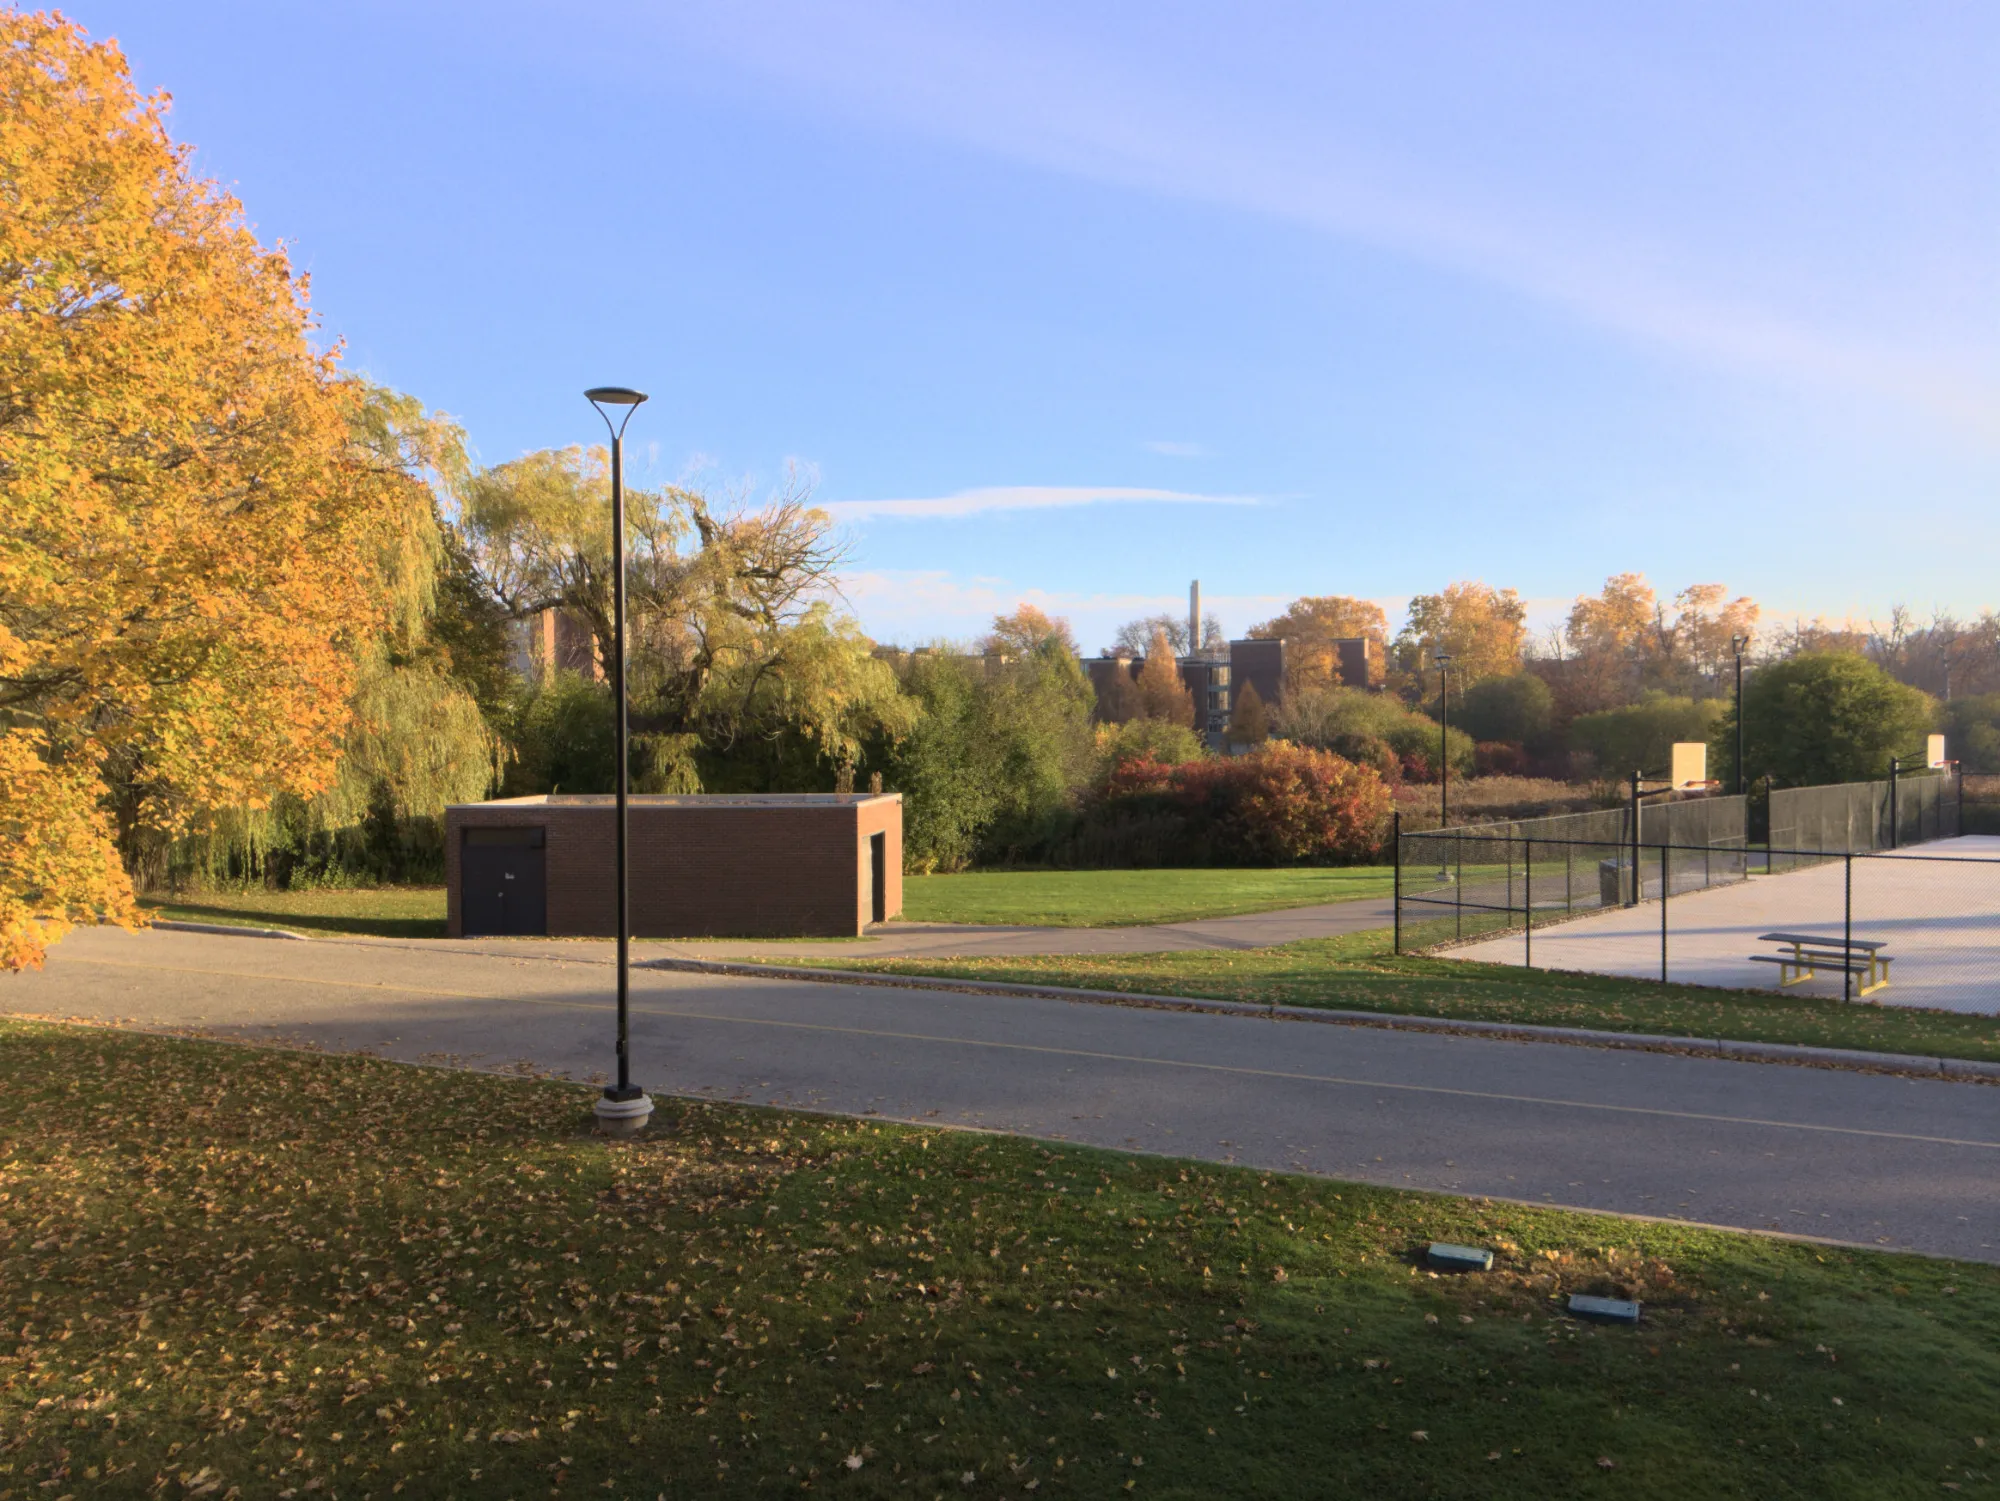
from the camera and processed. nov 1, 8:10 am
as the seasons change, it would be so cool to be able to have a timelapse! something like this, but for an entire month...
the camera takes 5 exposures every 200 seconds, archives the raw digital negative, then automatically color grades them! footage at night isn't saved due to storage costs, each group of 5 exposures is 70 mb!
(unfortunately, i have to move out mid-december, so it won't catch the snowfall)
the hardware!
the camera is an arducam IMX519 (with autofocus). at $25 usd, it's probably the best camera with an impressive 16MP resolution and pretty good color accuracy. it's not best for video purposes, but for still shots it's awesome at the price. using a csi camera allows me to get the raw sensor data, which allows me to adjust my processing pipeline in the future.
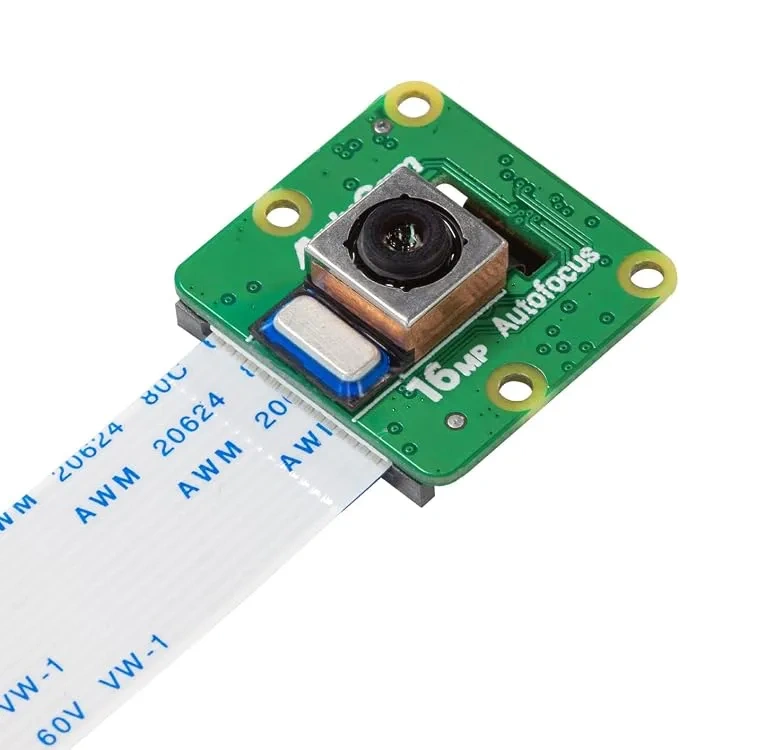
image from amazon
to keep it compact, the camera is hooked up to a raspberry pi zero 2w, which transmits the raw footage off to be processed.
camera mount
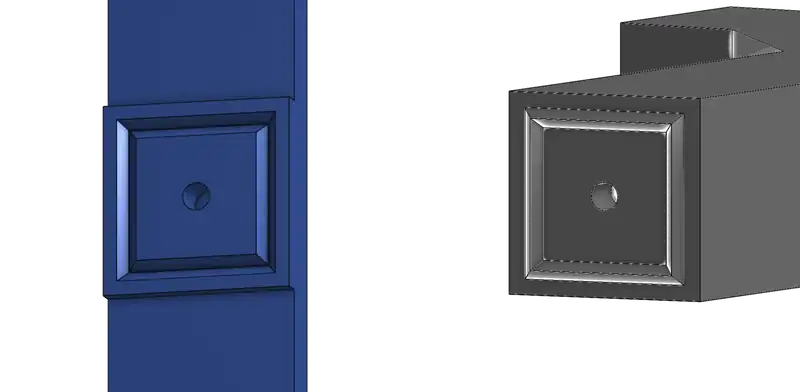
the mount was designed in onshape. i wasn't super sure about the dimensions, so i split it into 3 parts to reduce re-printing. it was printed in pla, but petg would be better to avoid heat deformation from sunlight.
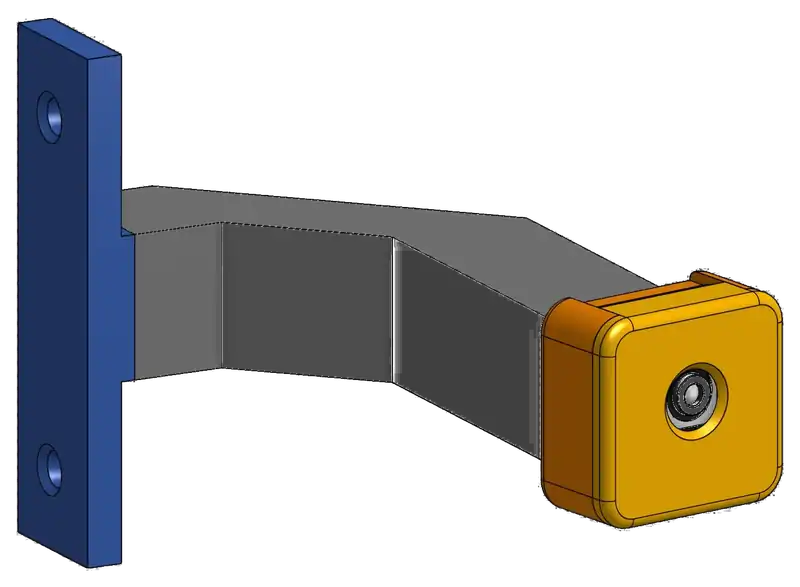
all 3 sections are connected via a singular m3 screw and a self-aligning pocket. i didn't have threaded inserts, and the entire thing doesn't need to be super strong, so this was more than sufficient.
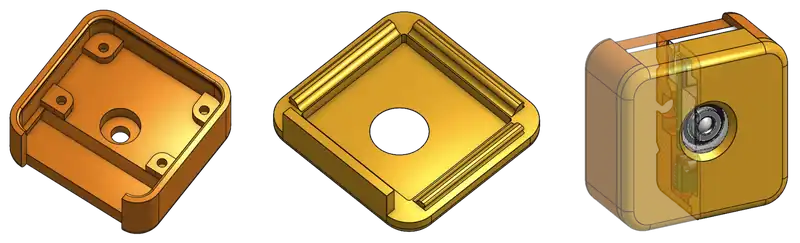
i didn't want to pay $15 for a camera housing, so i designed my own with a snap-on cover. tolerances took a few test prints to get right.
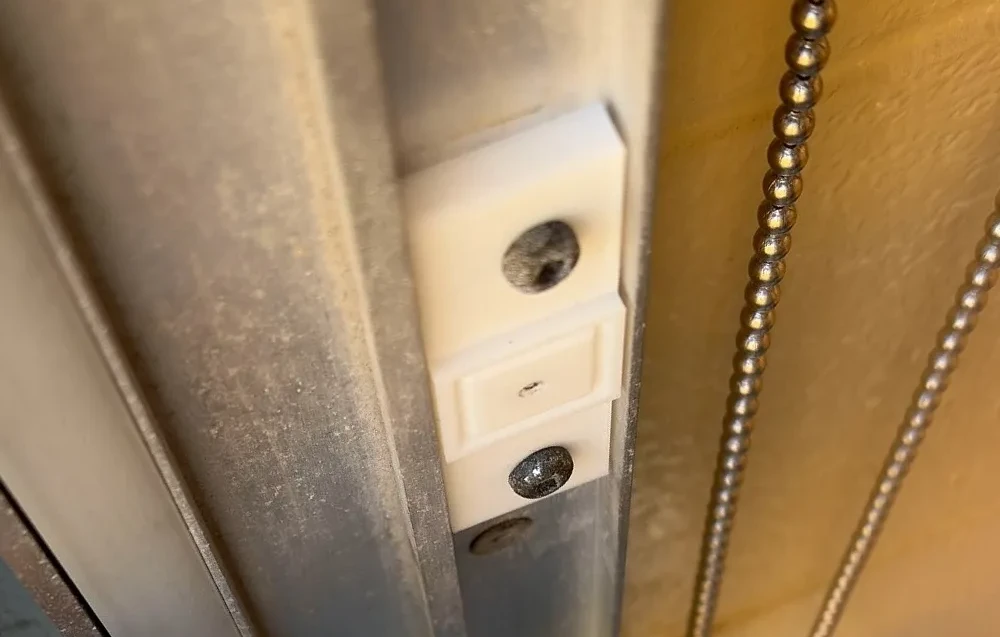
for secure attachment. my dorm didn't allow drilling holes into my wall... but luckily, my window has this end stop that was pretty useless, and it had 2 mounting holes. so i replaced it...
the software
the hardware was pretty straightforward! building the software took me down many rabbit holes. much was learned about image processing.
capturing and storing the images
we capture 5 frames raw every 200 seconds with fixed focus, auto exposure (with 5 brackets, thus the 5 frames).
the end goal is to render a smooth timelapse, so the pipeline needs to never, ever lose or miss a capture. the entire pipeline is designed around this and to auto recover.
there are 4 devices that make this work:
- rpi zero 2w: compact enough to sit next to the camera
- rpi 5: powerful enough and local to do compression and render low res previews
- hetzner vps (cpx11): most reliable. used for monitoring, and serving data publicly
- hetzner storage box: 1tb long term archive for raw footage
both pis send heartbeats to the vps. the two hetzner services cost $11 usd a month.
a slack webhook is used as the monitoring service, since i check slack often and it's super reliable compared to an email or text. a test message is sent every week just to confirm it's still working.
upon capture, we hash the footage using sha-256. when footage is transferred, we always verify the hash on the recipient before deleting the original. when there's enough storage, we retain the original for a while just in case.
the rpi zero 2w is the most important device since it does the capturing. checks are in place for captures, memory, network, and a hardware watchdog will reboot in case of a total freeze. the rpi 5 is the gateway to the storage box, so it also has checks to make sure everything runs.
raw footage is a lot of data even after compression, and there's only 1tb to store it. since the night is pretty boring, we only save captures from nautical dawn to nautical dusk. at around 15gb a day post-compression, 1tb stores around 2 months.
image processing
i originally thought this was going to be super easy. i want the footage to look as close to real life as i can. i don't really process photos from my phone and they look pretty good already... this can't be that hard.
here's a comparison. left is straight out of the camera with defaults, and right is my processing pipeline.
nov 21, 6:16 am → 10:56 am
my pipelinethe camera's honestly pretty good already for $25, but there was a vignette, the colors were dull, the color balance was too blue and flickered, it was super dark at night, overexposed at dawn, amongst other issues.
here's a closer look with one frame
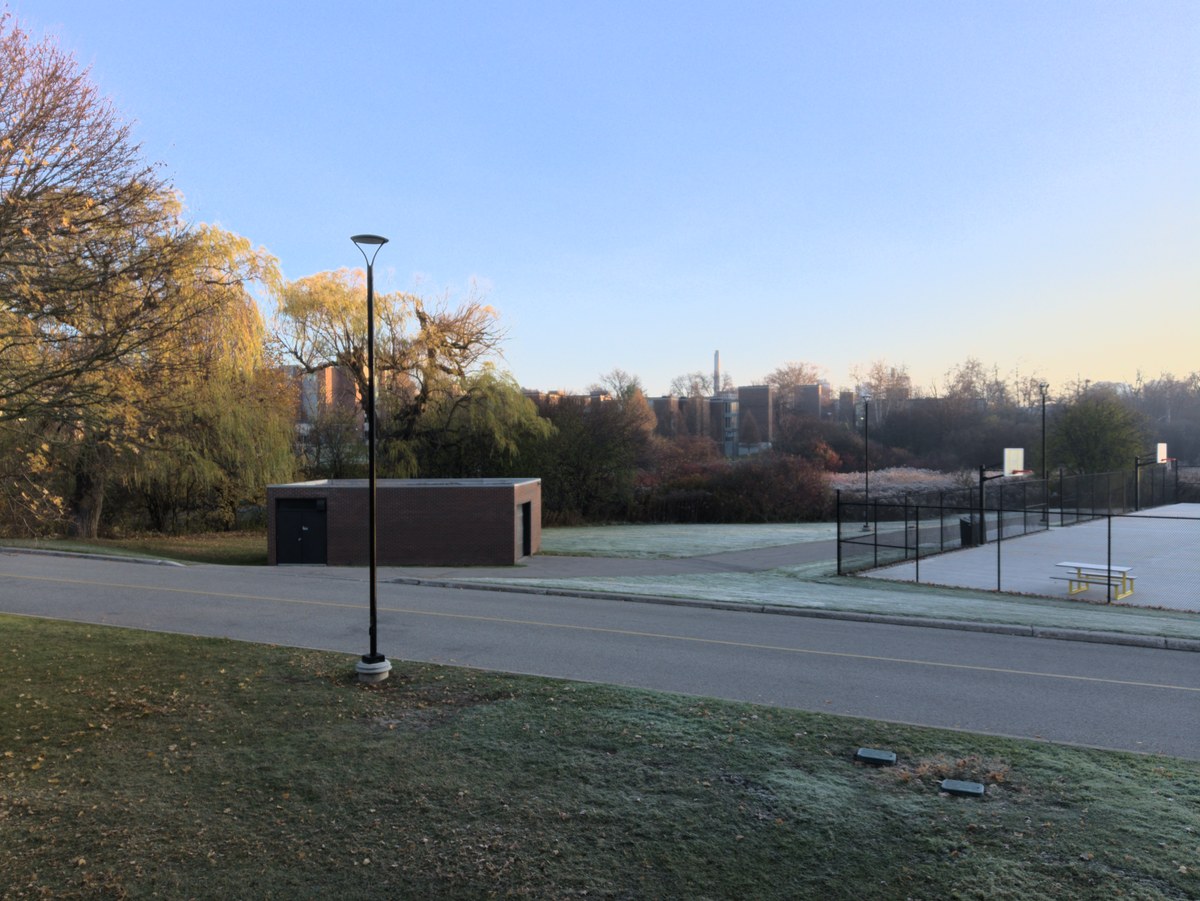
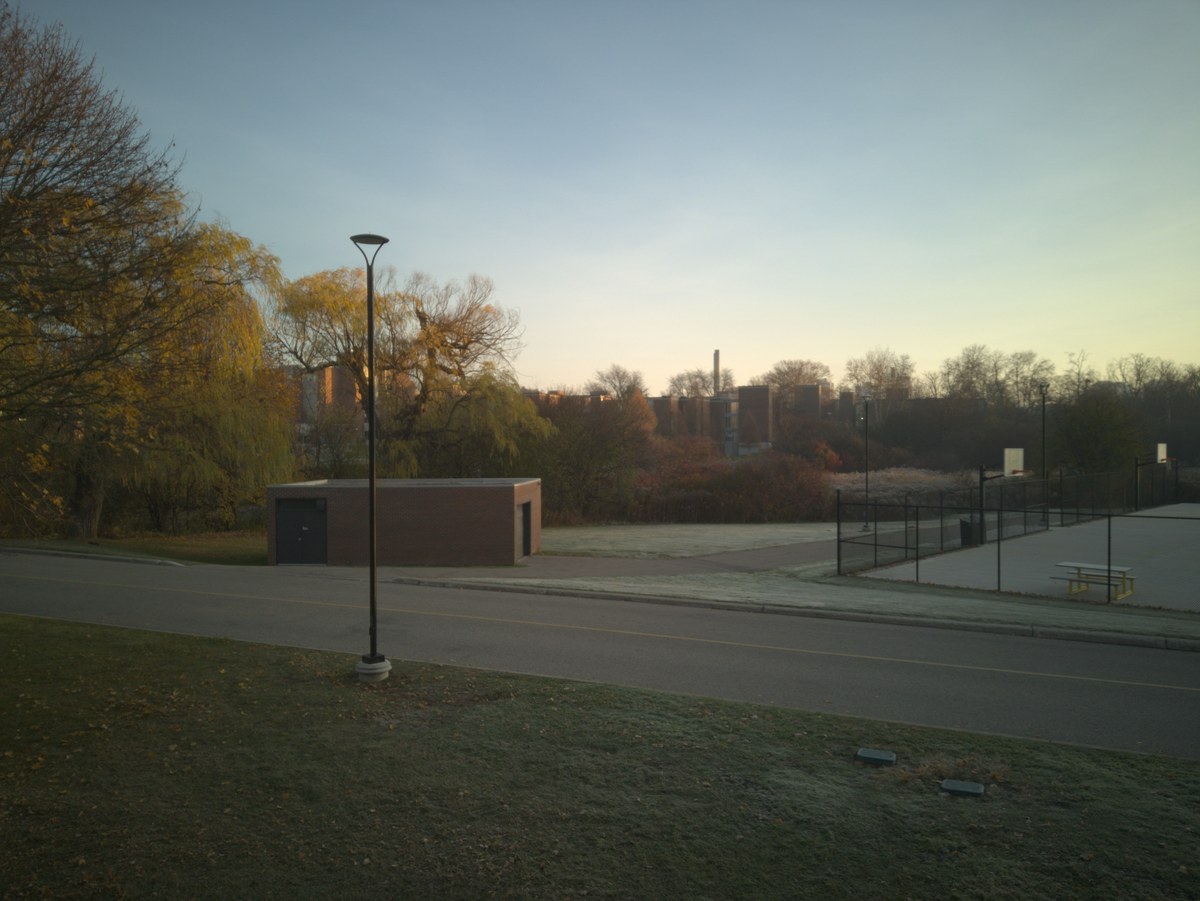
nov 21, 7:50 am
1. dynamic range
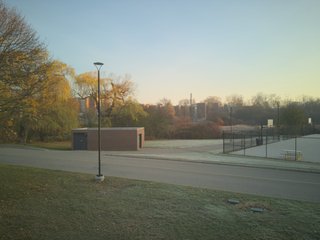 one photo
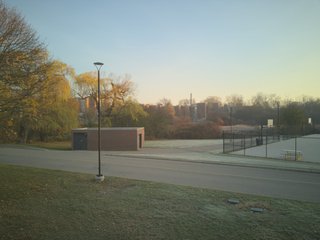 merged
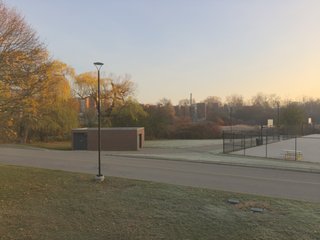 vignette
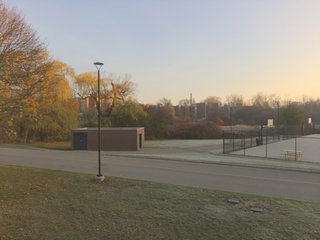 speckle
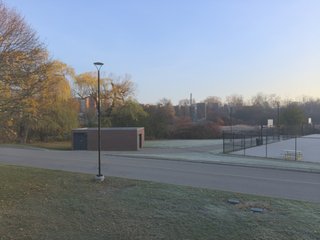 white balance
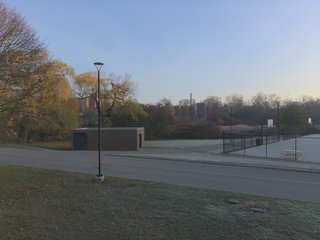 exposure
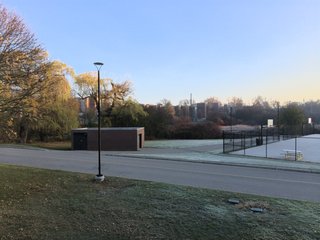
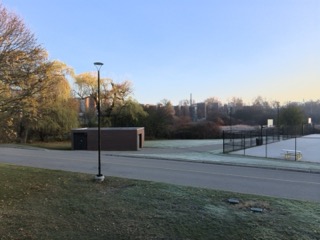 sdr grade

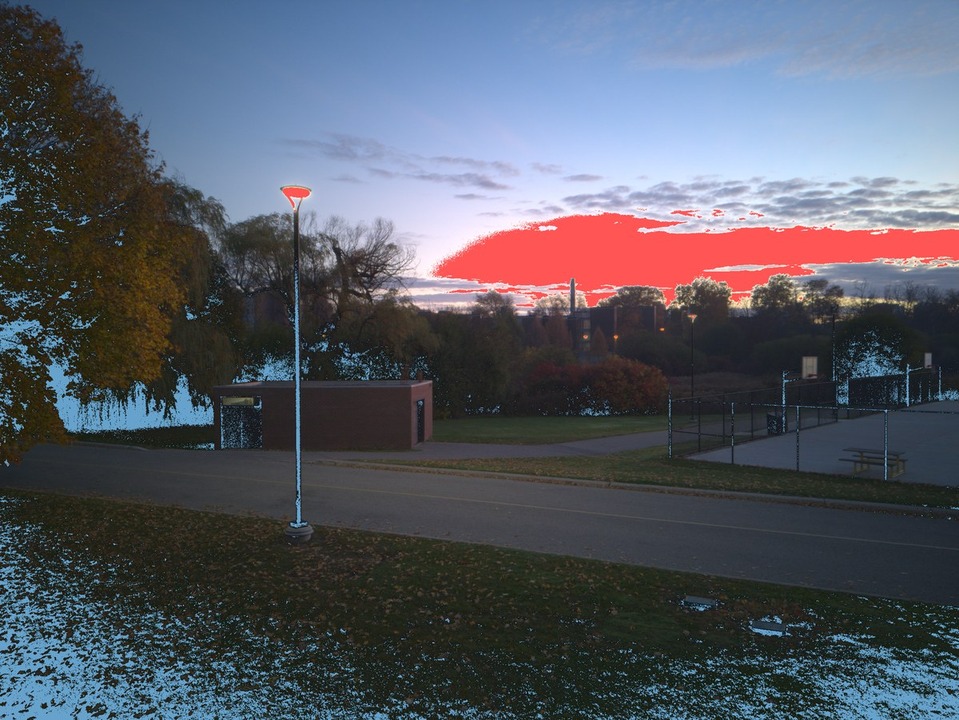
the camera struggles with high contrast scenes. at times of the day we lose detail as the sensor blows out super bright highlights and crushes dark shadows. the data is lost so there's no way to recover the detail.
nov 1, 6:40 am
- blown out
- crushed
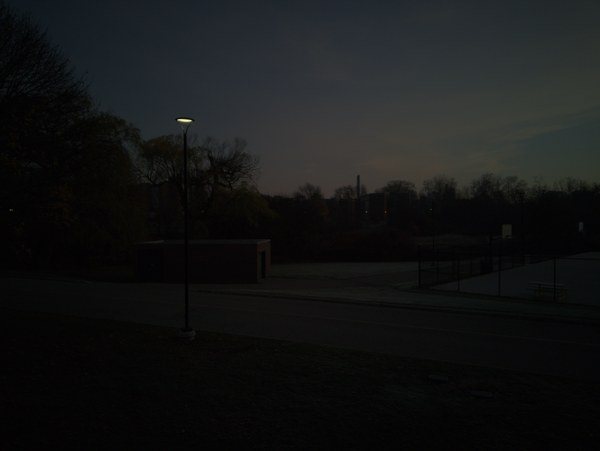
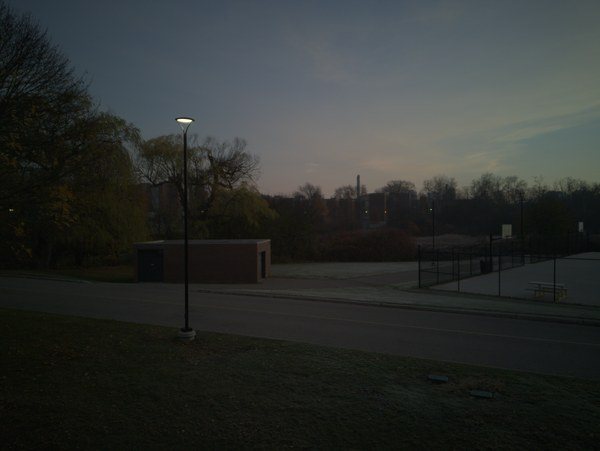
a common solution is to take many frames at varying levels of exposure.
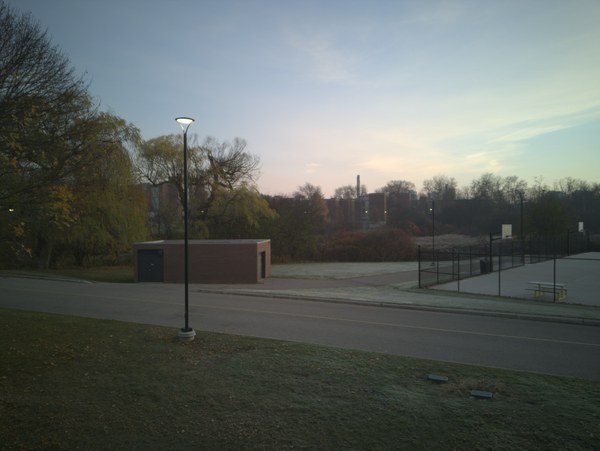
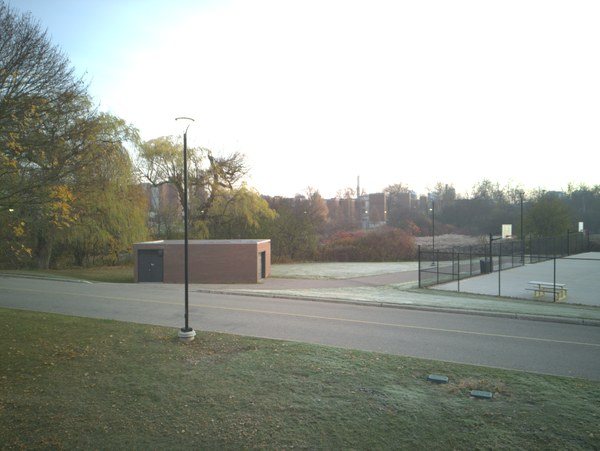
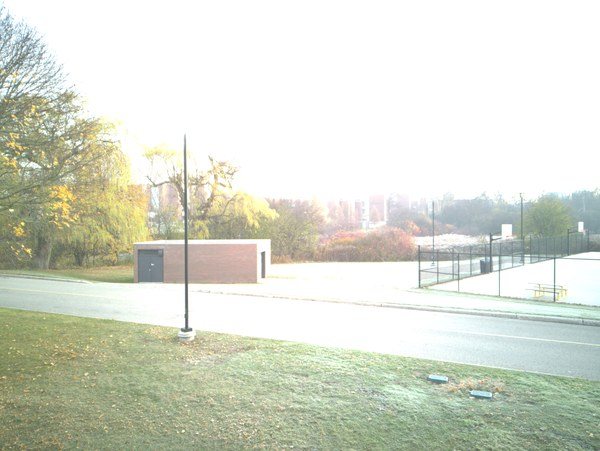
nov 21, 7:20 am
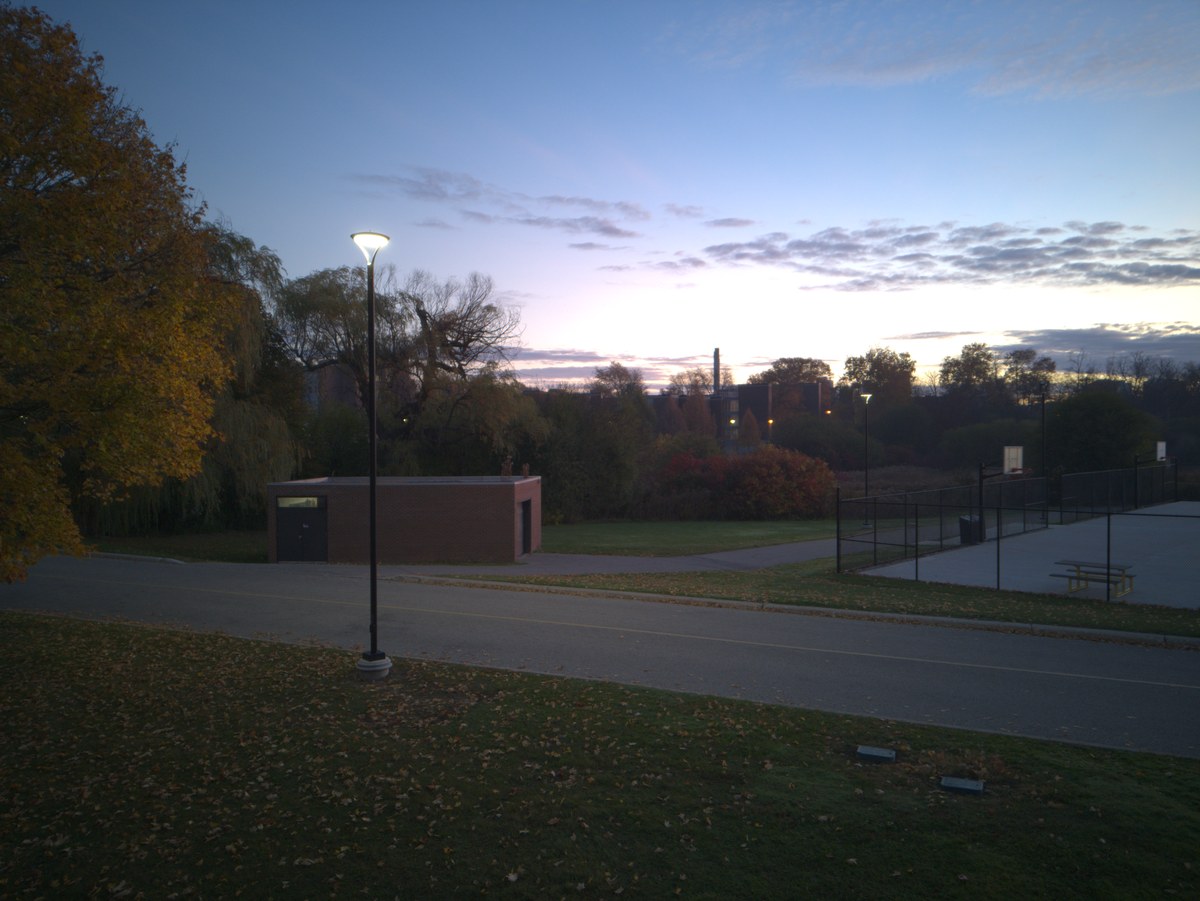
after combining them the image might feel flatter or darker, but you'll be able to see more detail. we need to further color grade to bring back the contrast and color that we want.
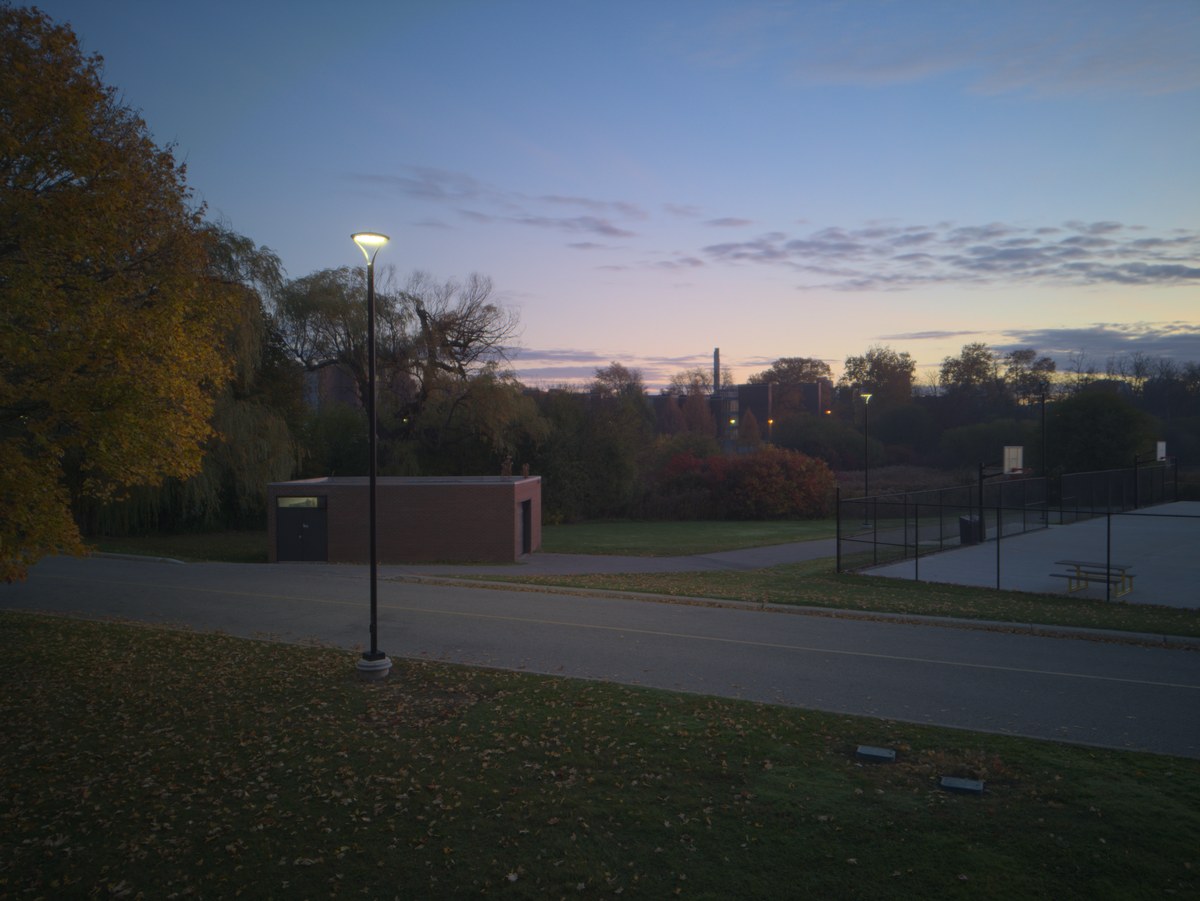
nov 1, 6:40 am
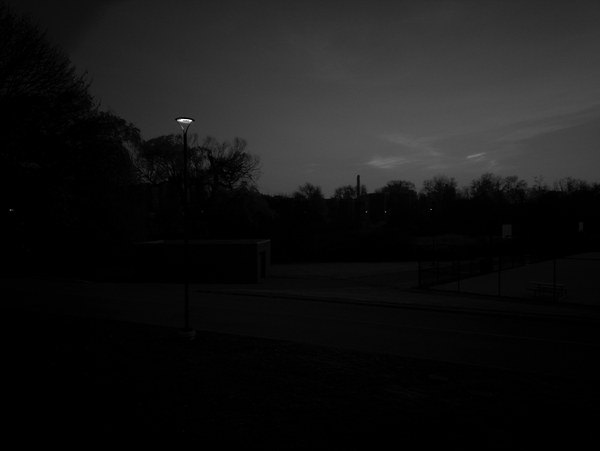
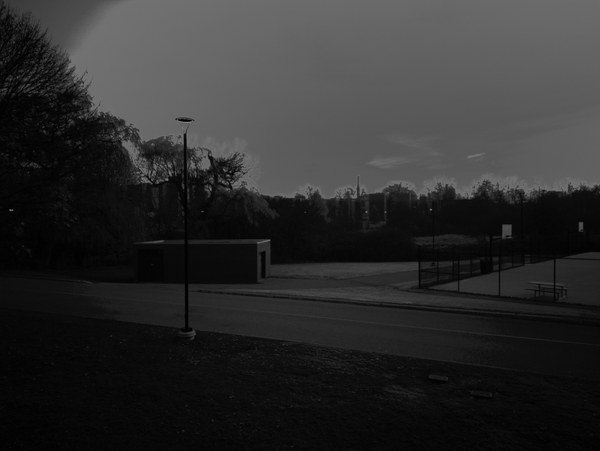
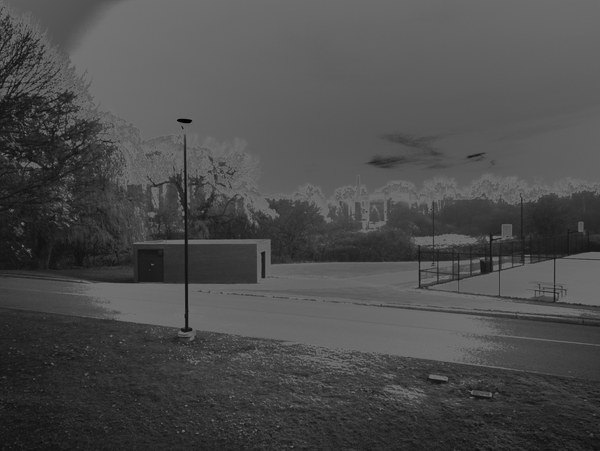
we merge these 5 exposures by giving each pixel a trust value. a pixel is more trusted when the pixel isn't too dark or blown out. we then combine pixels weighted by their trust.
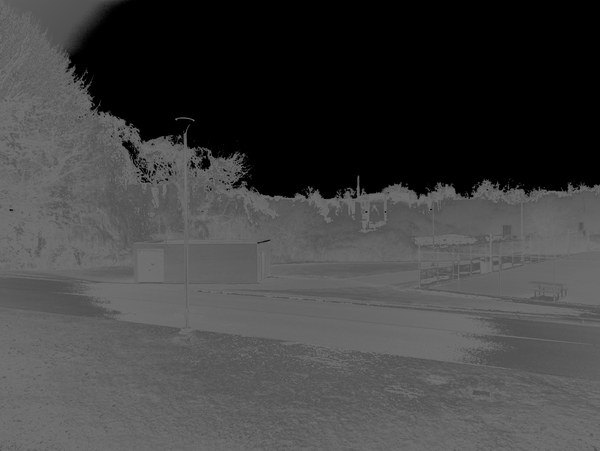
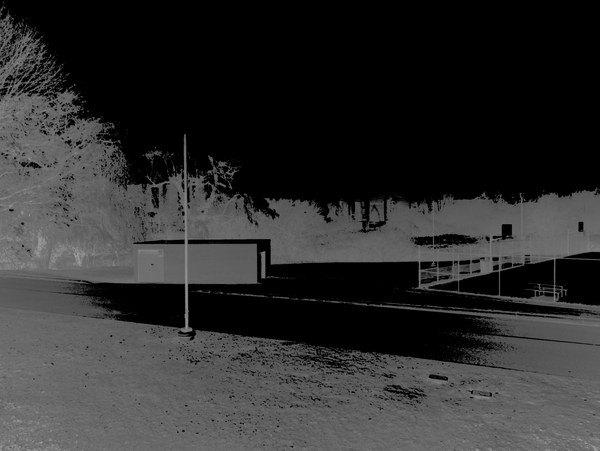
pixels used in the final picture. nov 21, 7:20 am
you can see that for the sky, more of the darker exposures are used since they aren't blown out there, and for the dark shadows, we use the brighter exposure more.
using exposure bracketing also gives us enough range for our final result to be HDR, we'll touch on this later.
2. vignette
- one photo
- merged
- vignette
- speckle
- white balance
- exposure
- sdr grade
without correction, edges of an image look darker since less light physically hits the sensor there. a quick fix is to point the camera at a uniform, white sheet of paper, and try to undo the vignette by brightening up the edges.
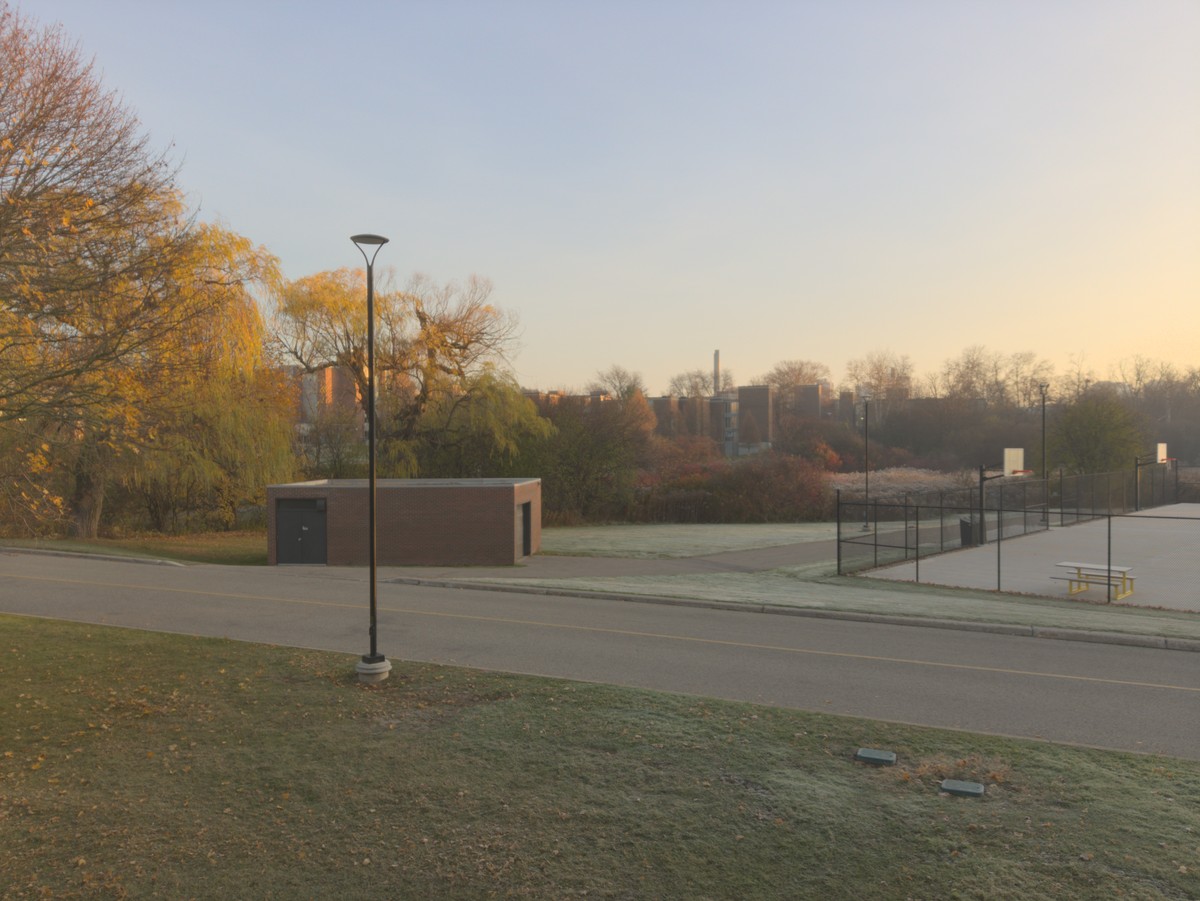
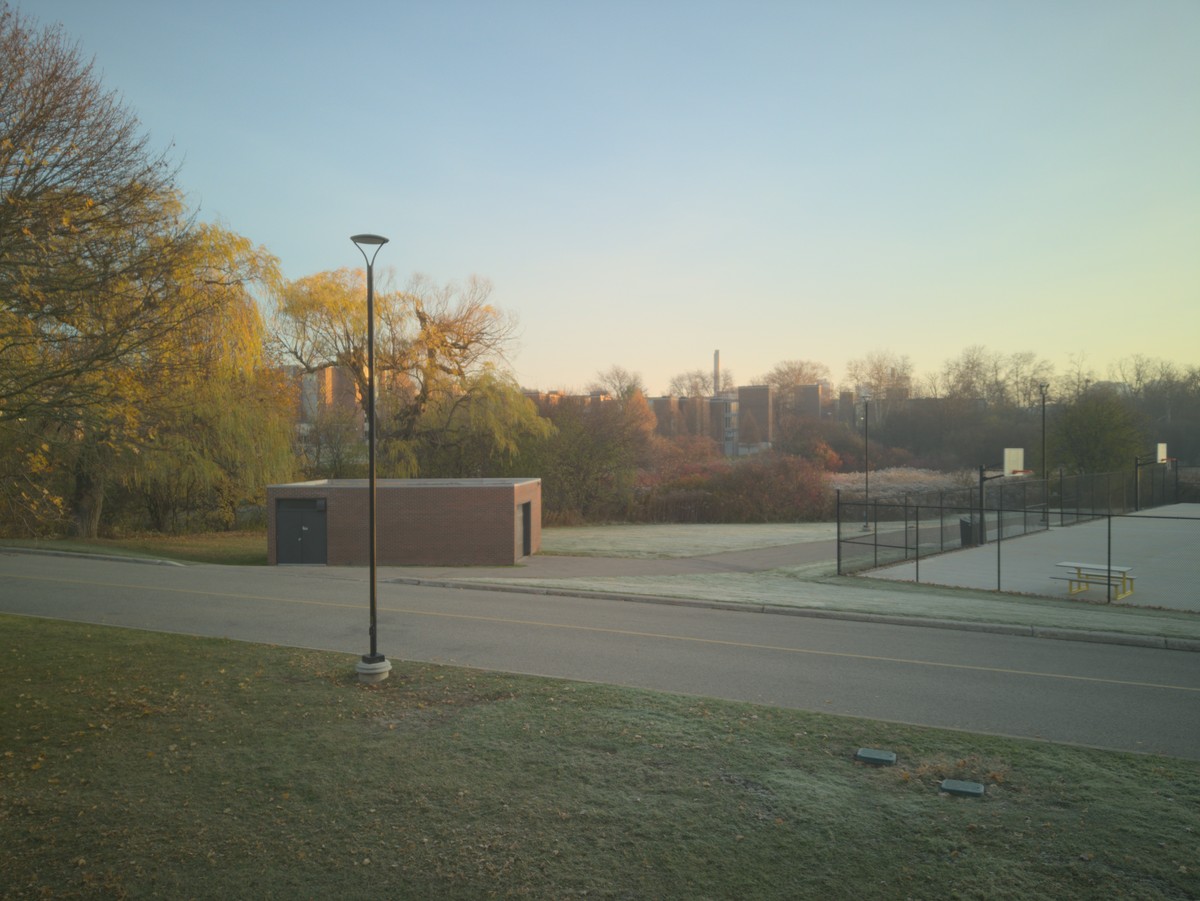
nov 21, 7:50 am
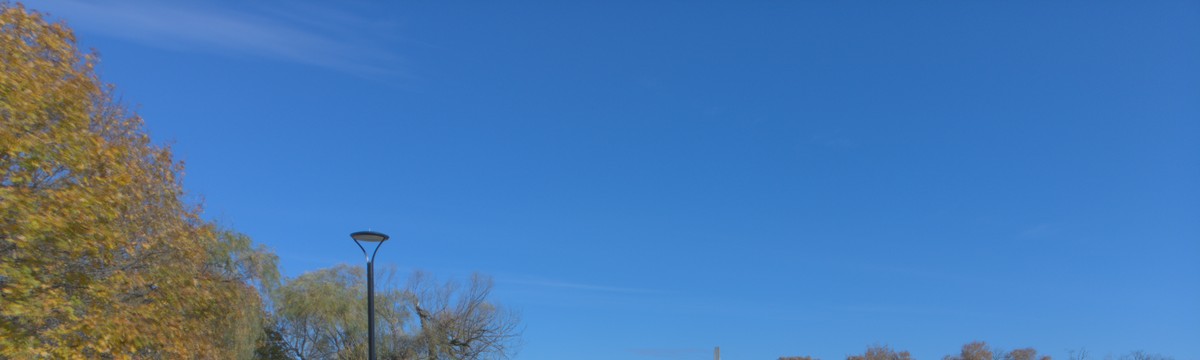
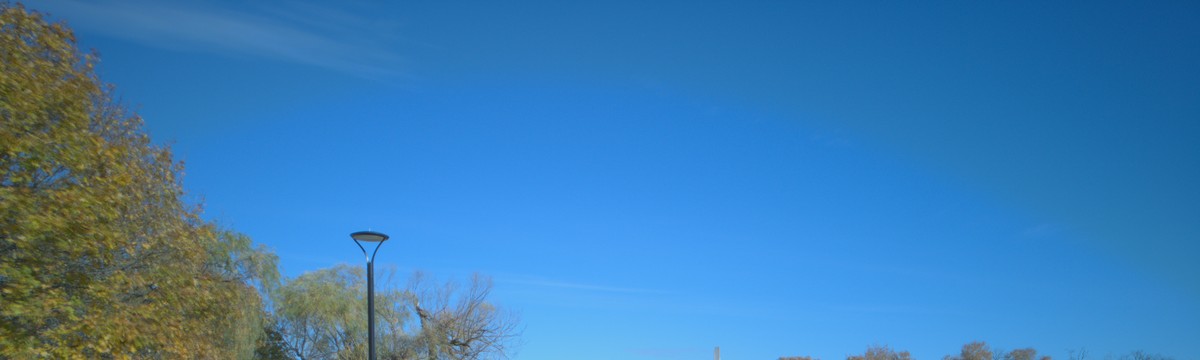
look at the top-right corner. nov 1, 11:07 am
on the before, if you look at the sky, you can see it's slightly darker towards the right corner. we can actually visualize how much correction we're applying. here's the green channel
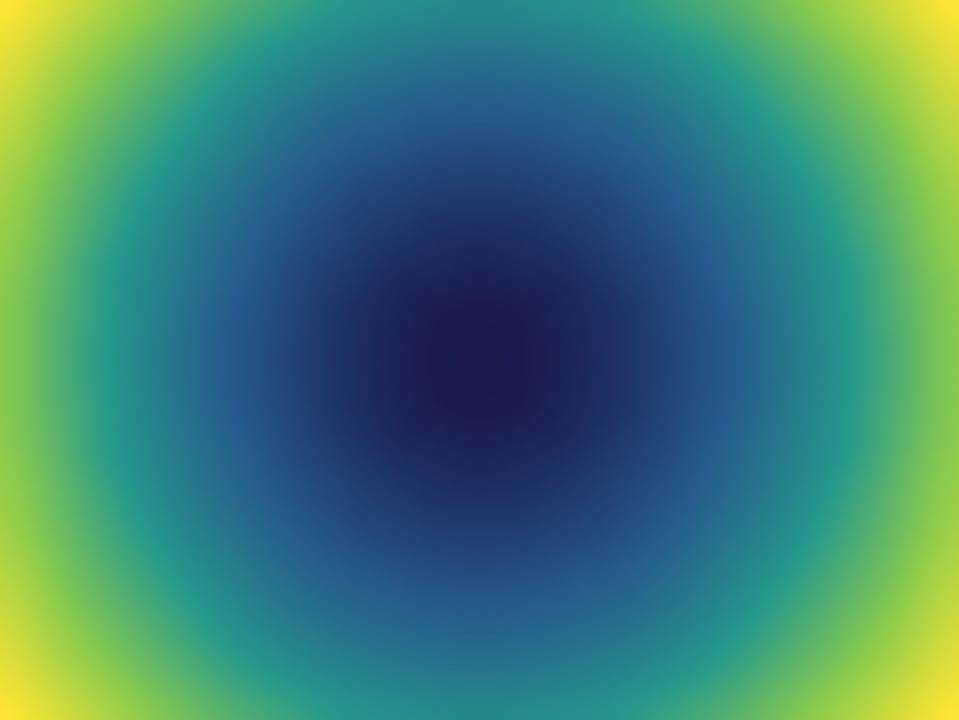
green channel correction
we see a slightly redder-shift in the image's color. the vignette correction is applied differently for different color channels. we'll correct this later.
3. color speckle
- one photo
- merged
- vignette
- speckle
- white balance
- exposure
- sdr grade
the sensor's built in color filter introduces some artifacts, especially around bright edges. a chroma noise reduction throws out outlier colors and fixes it.
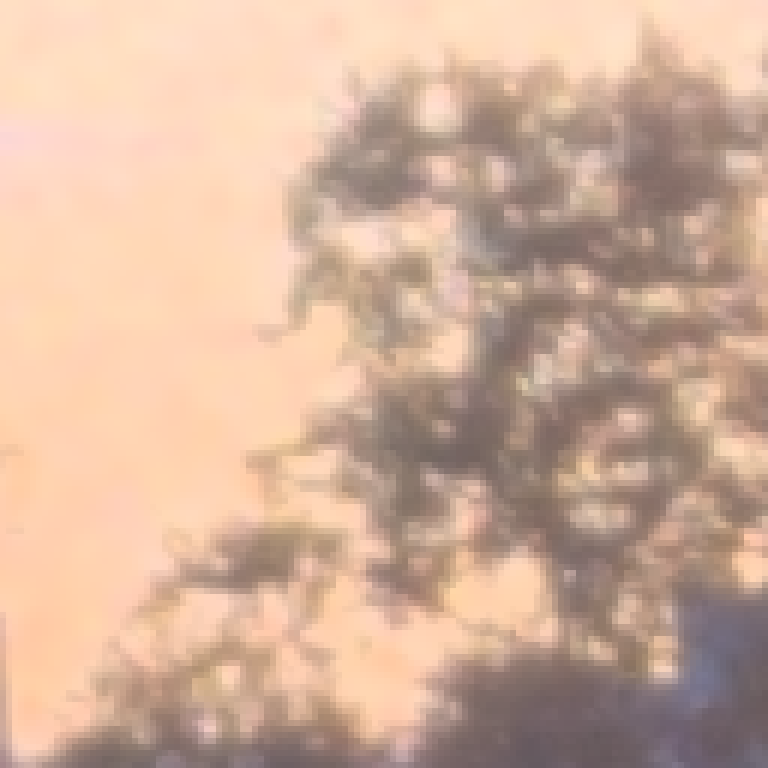
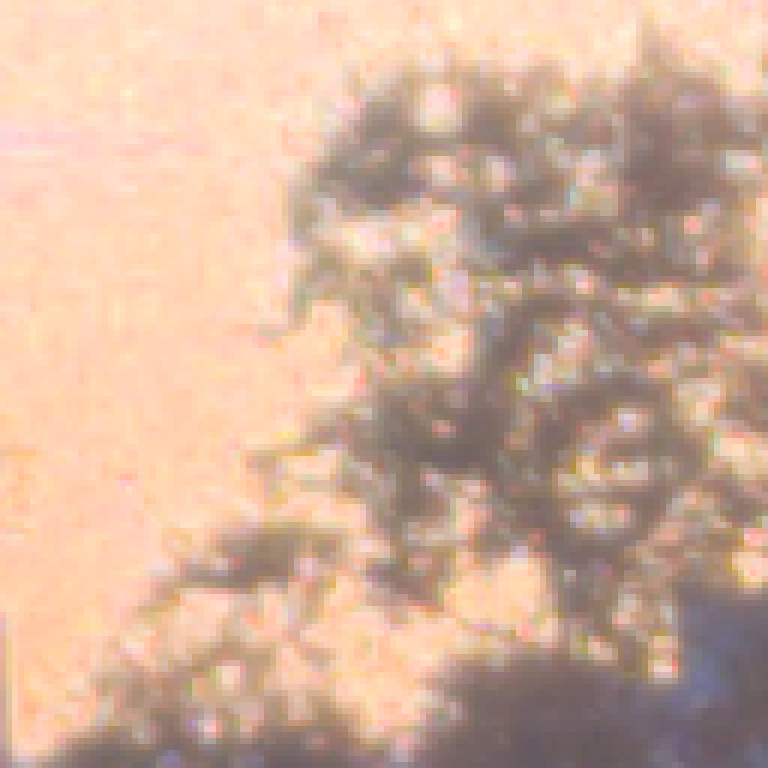
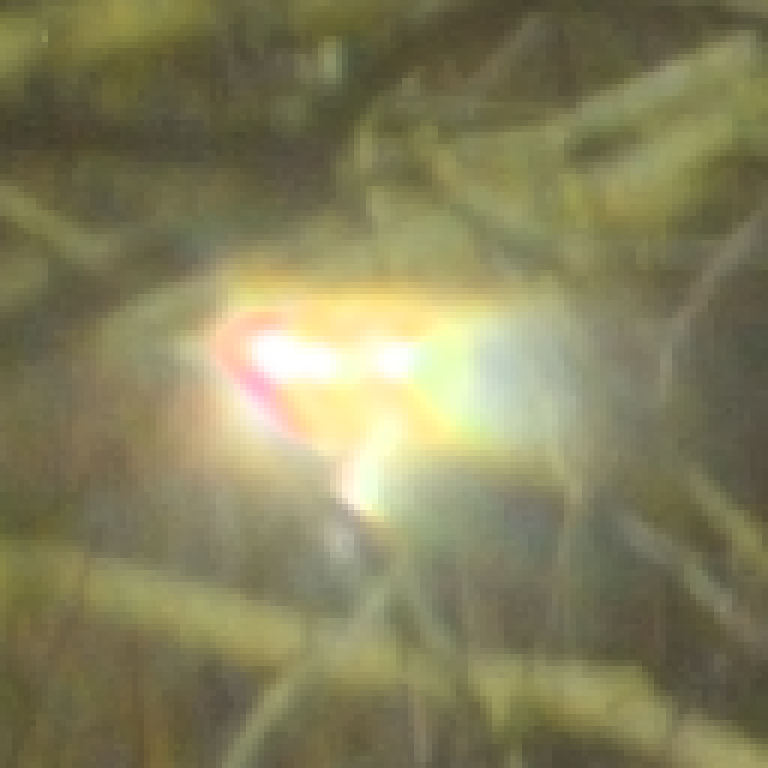
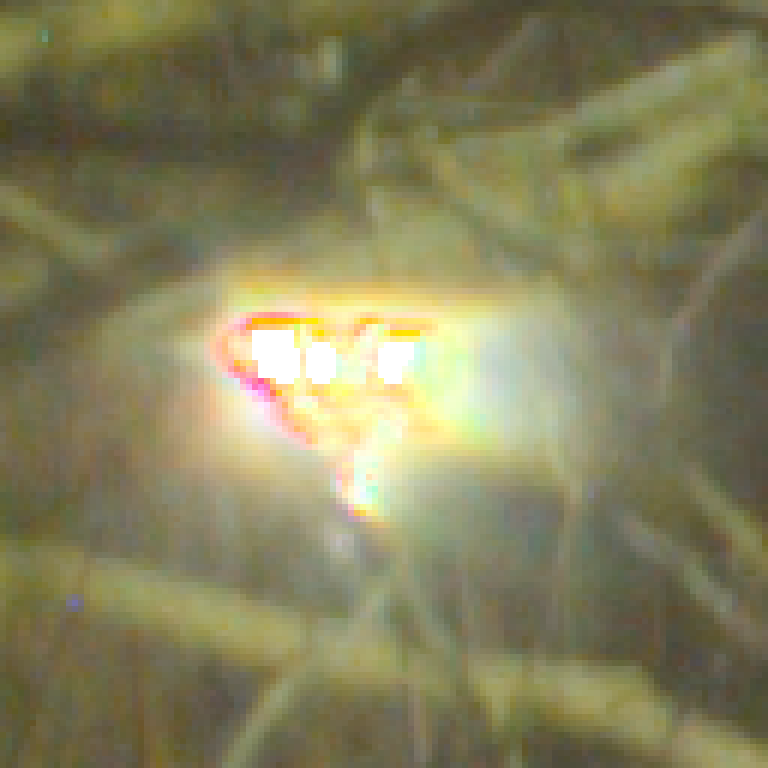
do note that this isn't chromatic aberration!
4. white balance
- one photo
- merged
- vignette
- speckle
- white balance
- exposure
- sdr grade
the camera's built-in white balance is okay, but it still gets it wrong pretty often. we can apply a technique known as grey-pixel, which finds places where the texture is color-neutral and tries to balance them.
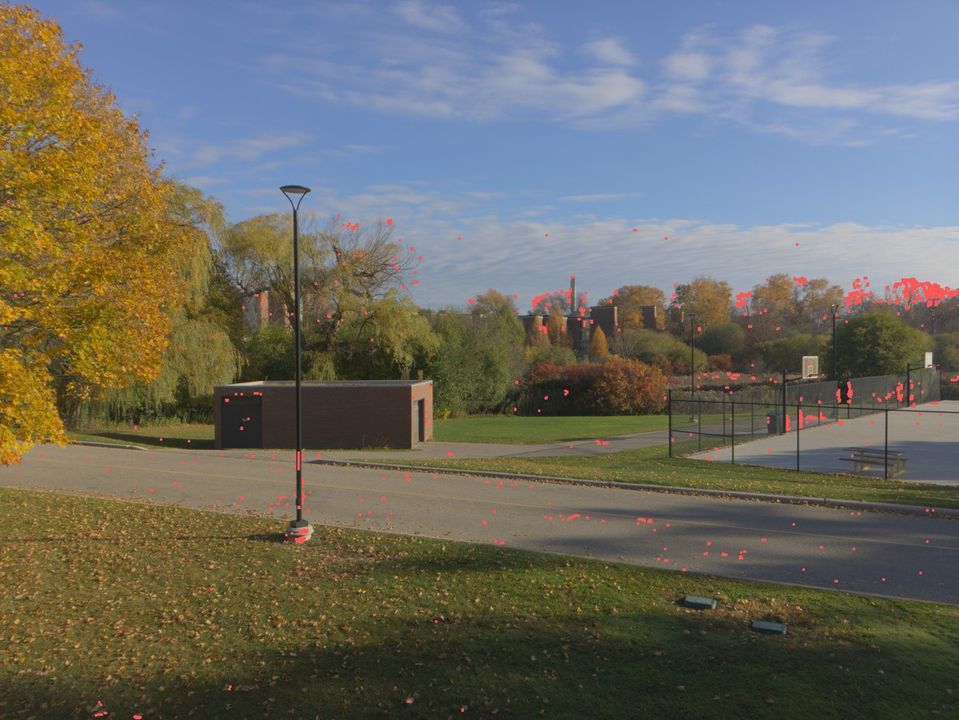
nov 1, 9:00 am
compared to the camera's guess, which we've used so far, it's more true to eye.
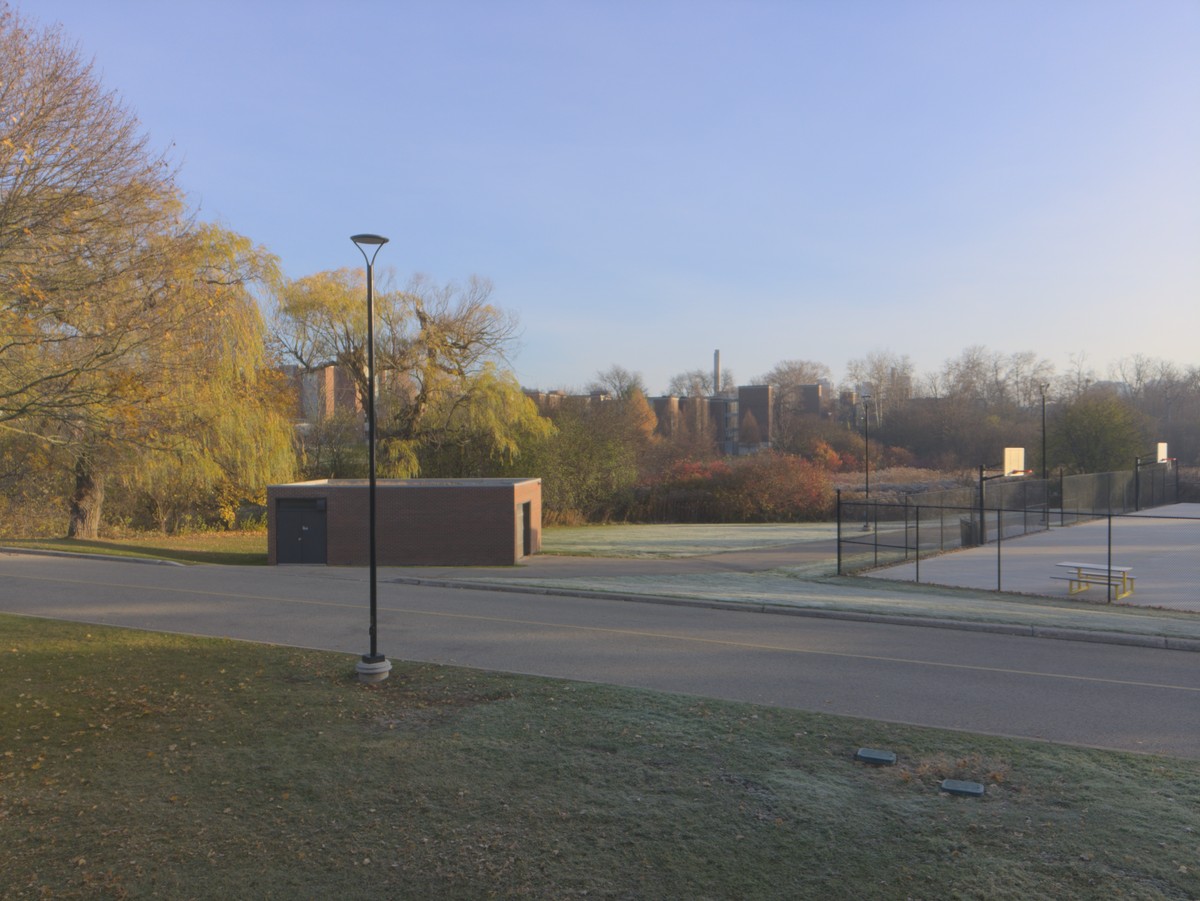
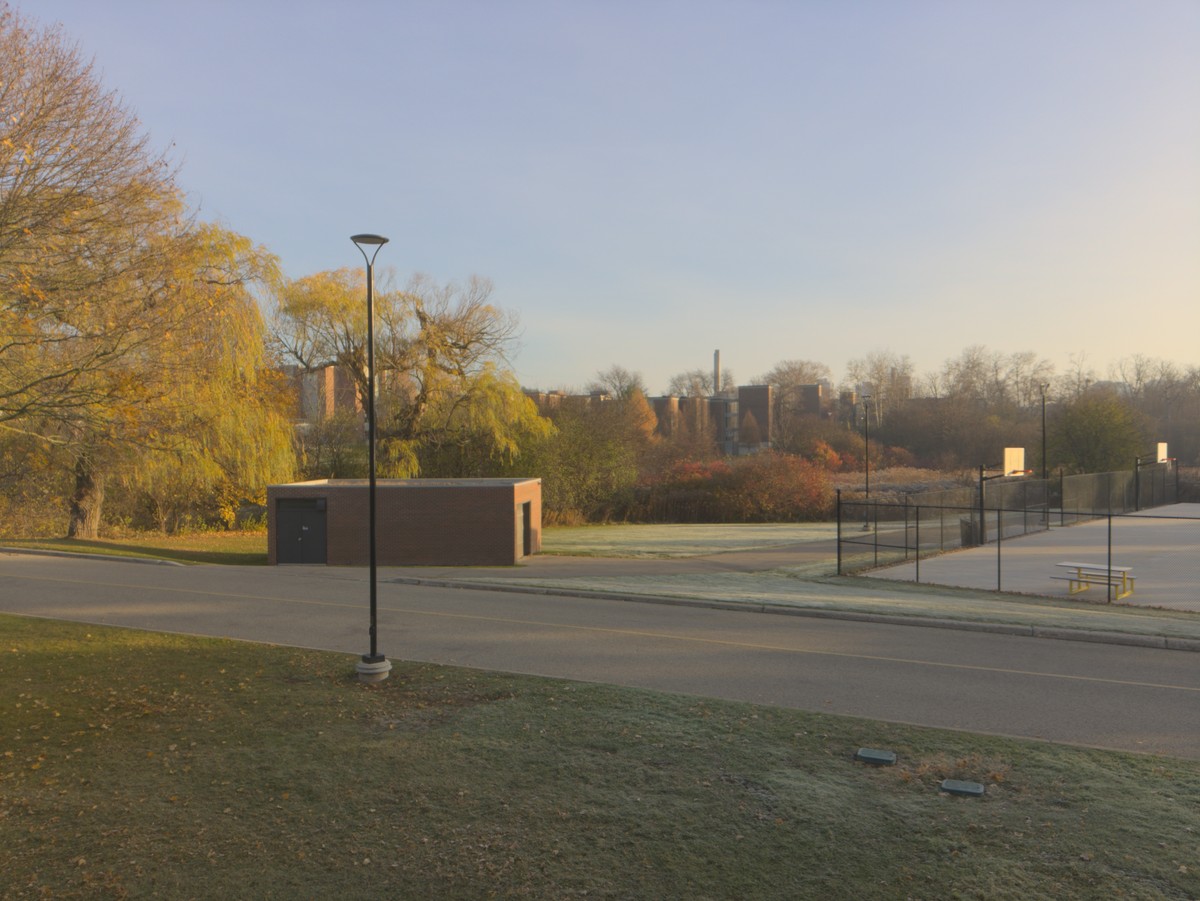
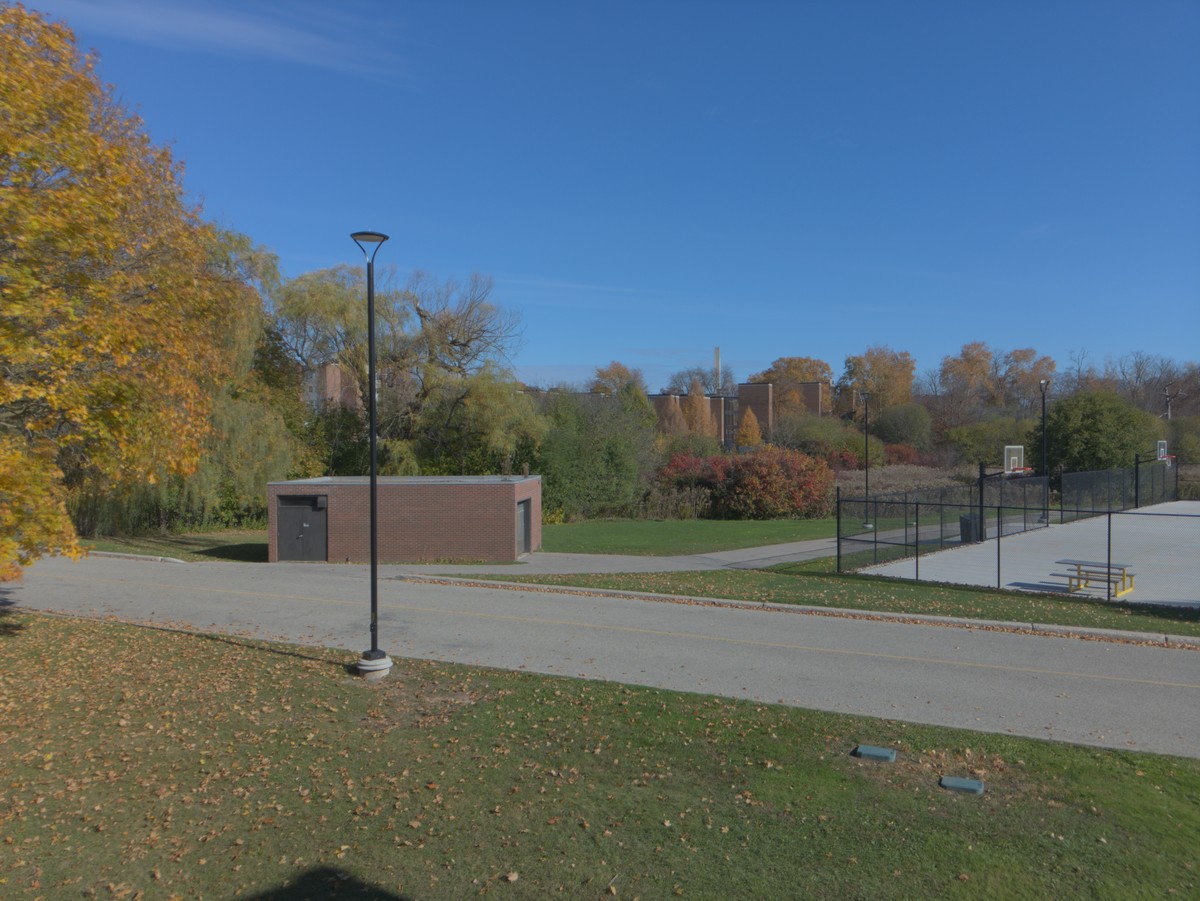
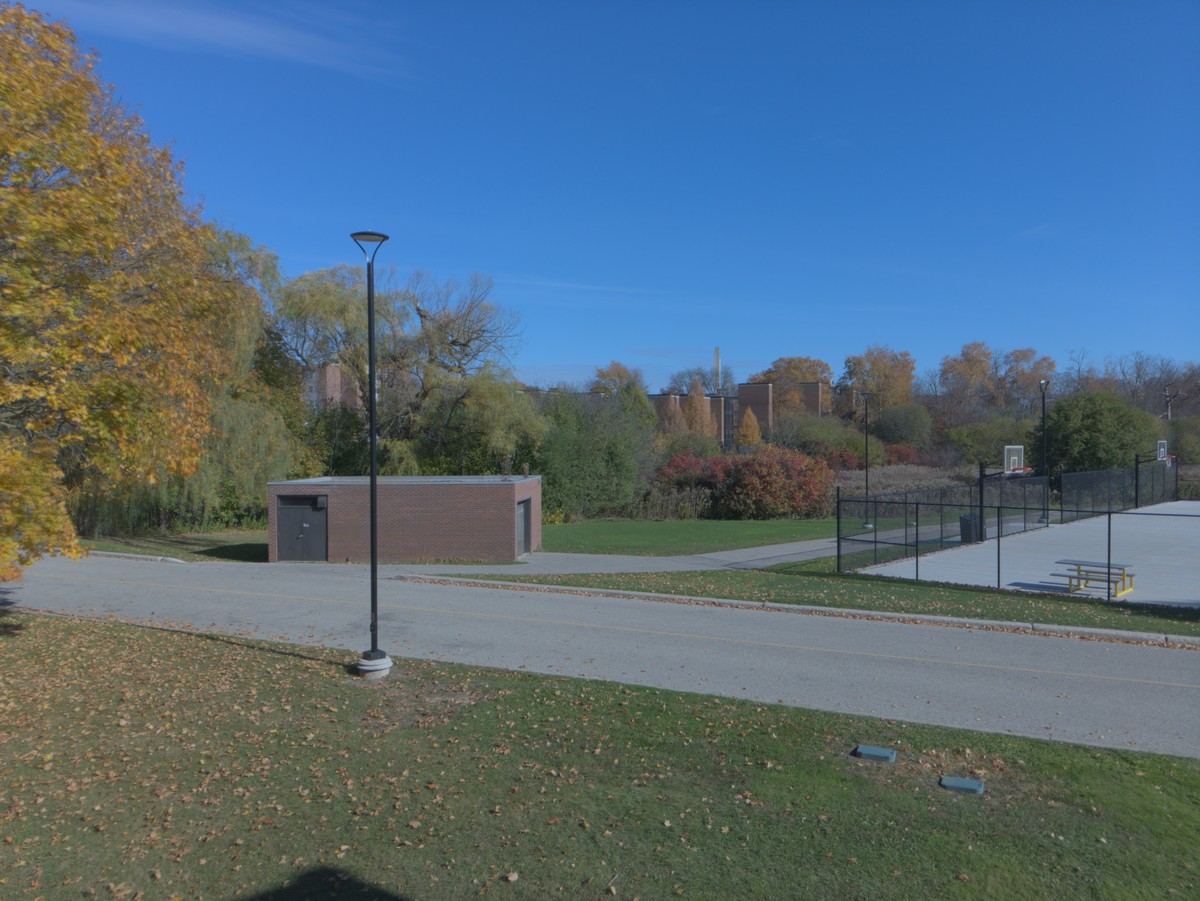
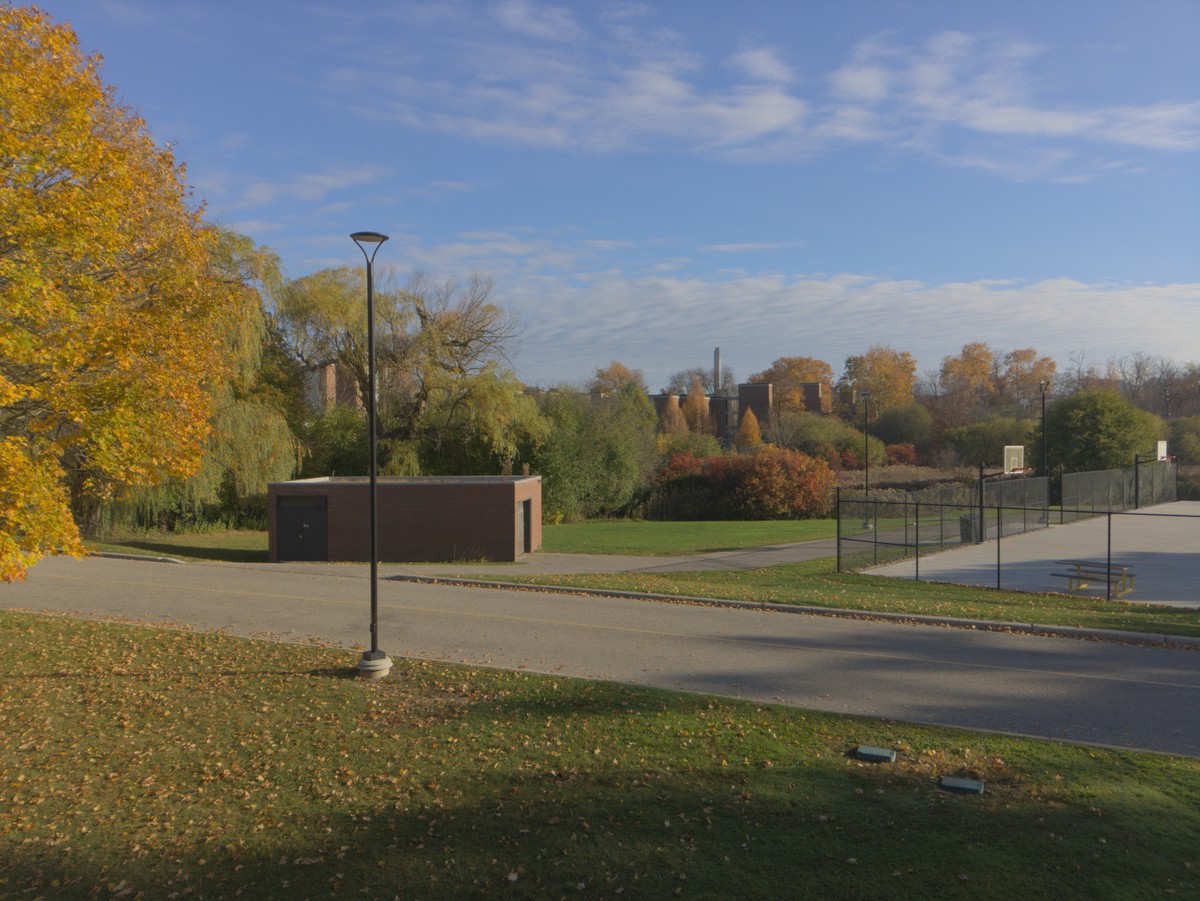
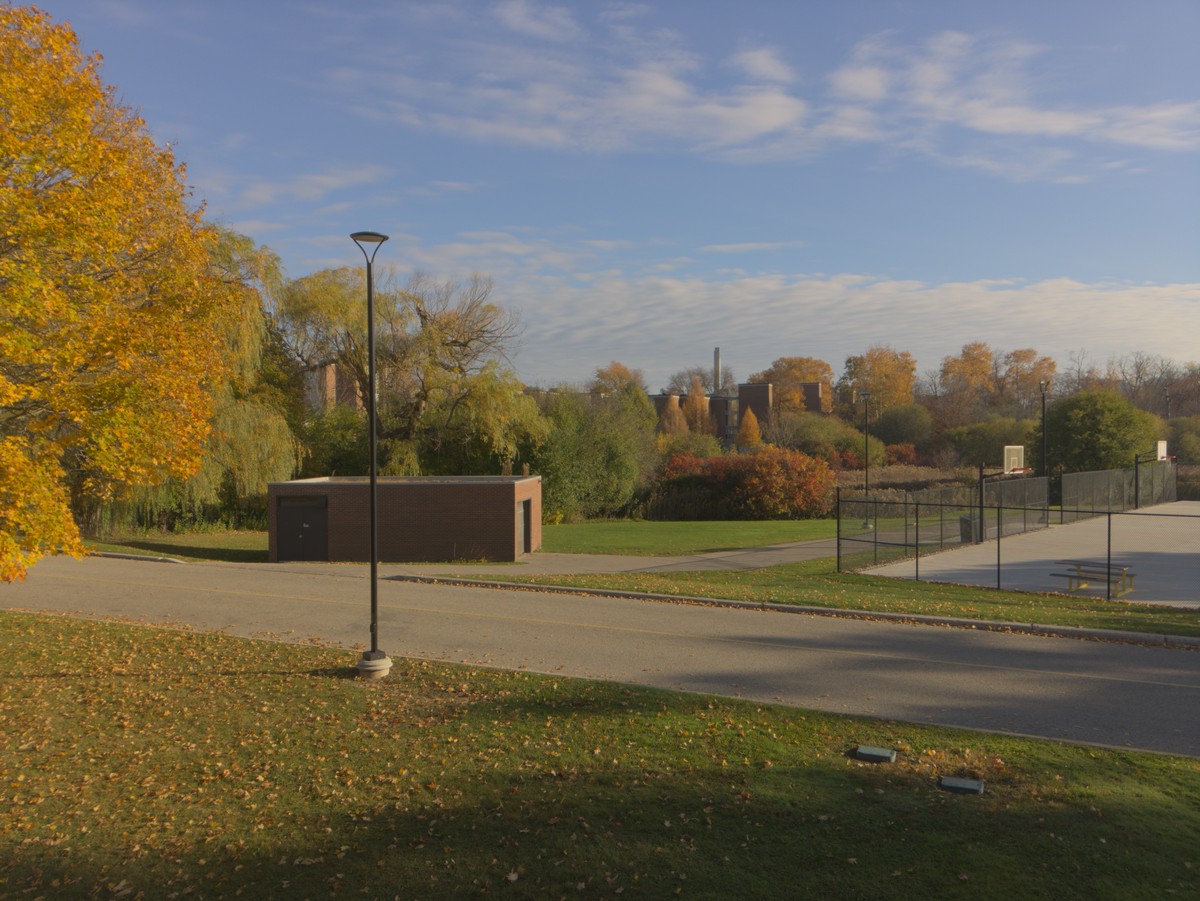
built-in white balance also doesn't care how the scene changes, so it will jump around. we apply some smoothing along the use of grey-pixel correction to help compensate.
zoomed on the court. nov 21, 9:13 am → 9:50 am
grey-pixel, smoothedhere's what we get after white balance correction! notice the redder-shift from the vignette step is gone.
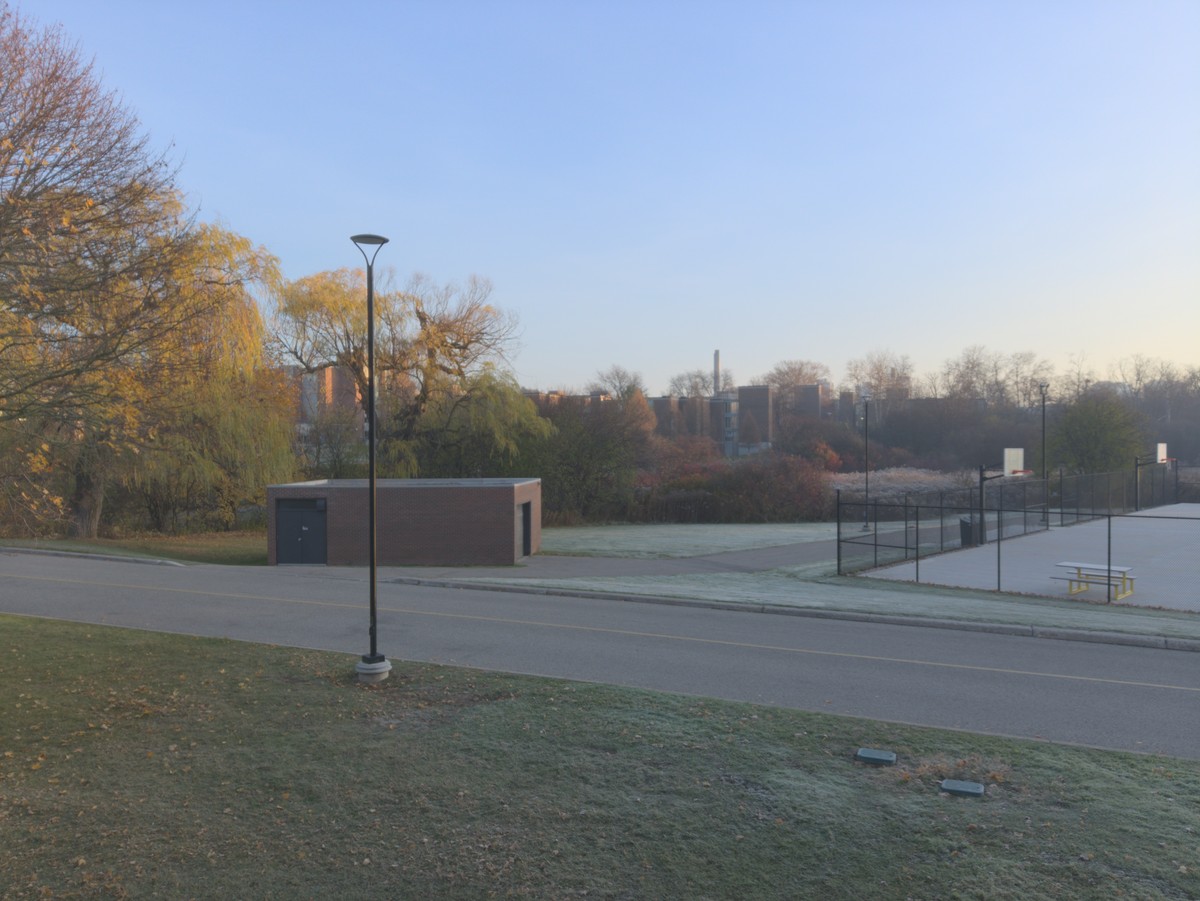
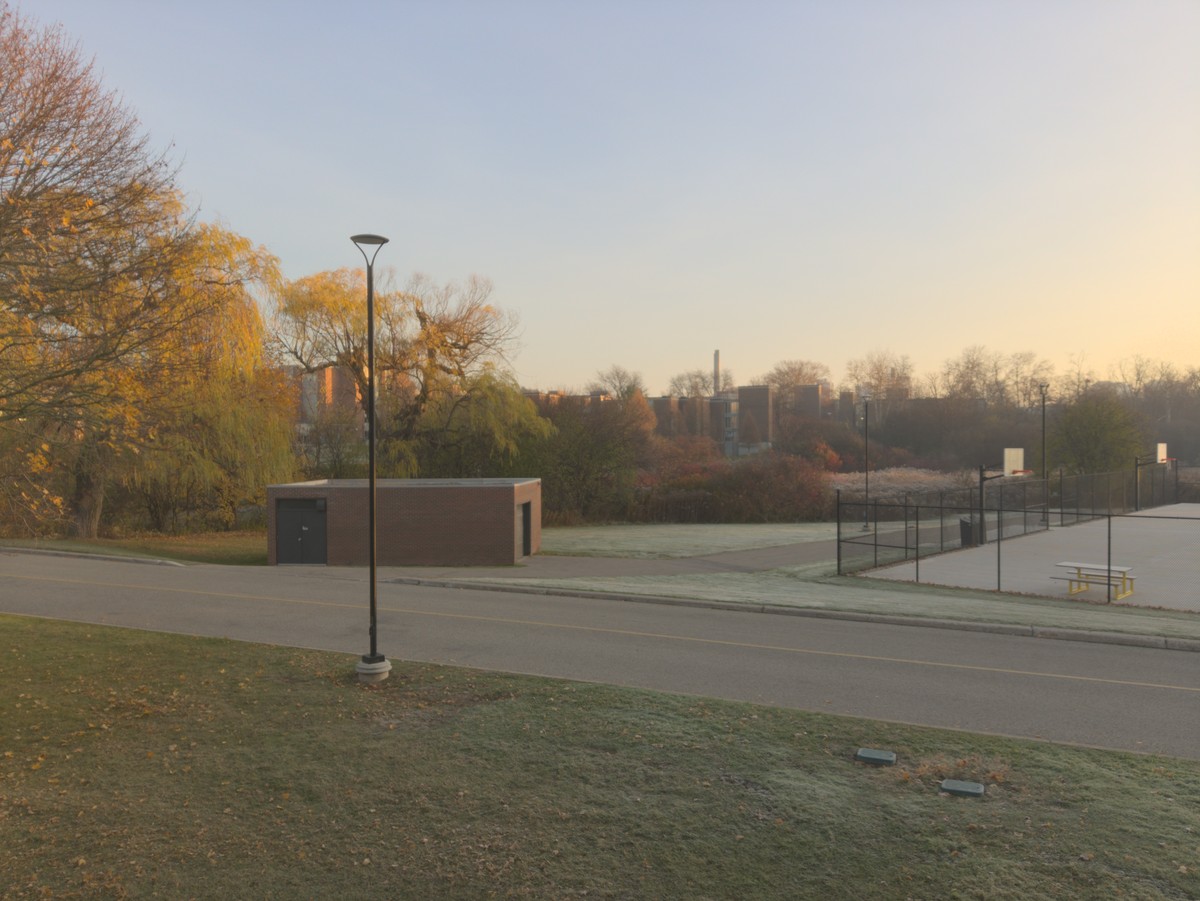
nov 21, 7:50 am
5. exposure
- one photo
- merged
- vignette
- speckle
- white balance
- exposure
- sdr grade
auto exposure makes every frame the same brightness, in the evening the image would feel bright and it's hard to tell the time of day. in a timelapse the relative darkness is also messed up and we lose the sense of the sky getting darker.
measuring how bright noon is allows us to anchor all frames, but it's a bit too extreme and makes the nights too dark, so we combine both techniques.
nov 21, 6:16 am → 10:56 am
our methodauto exposure
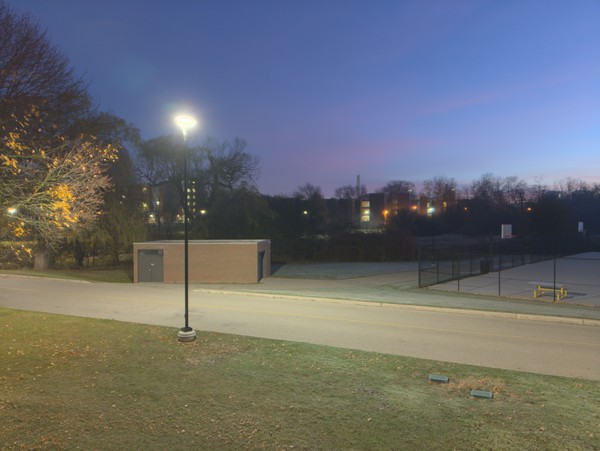
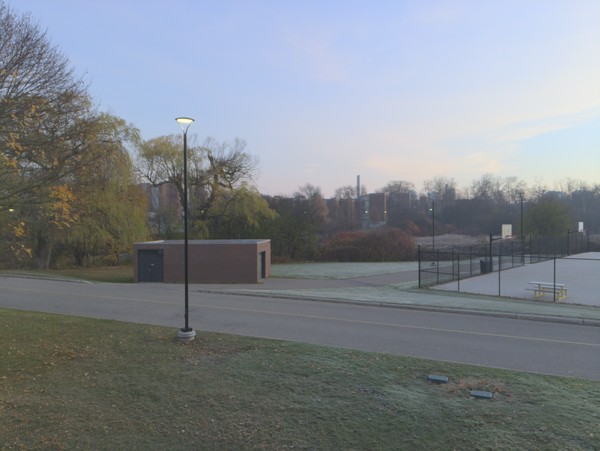
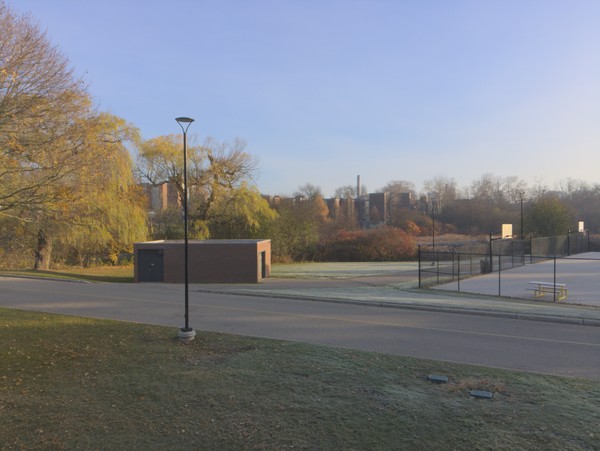
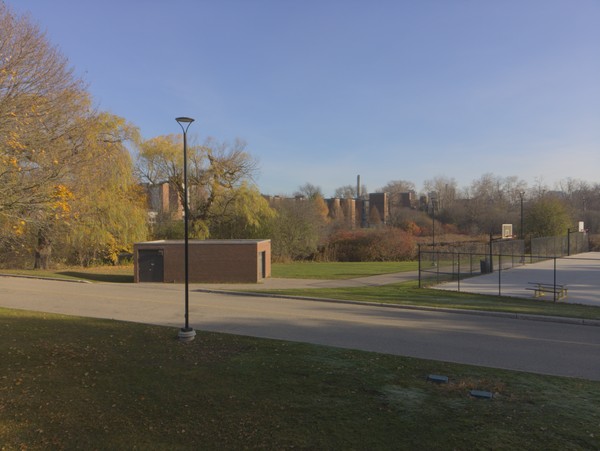
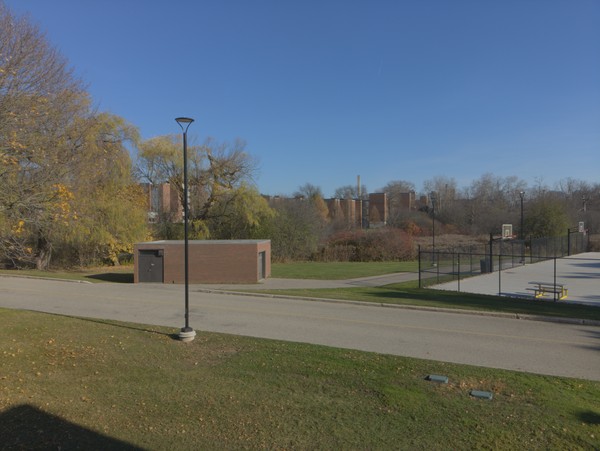
our method
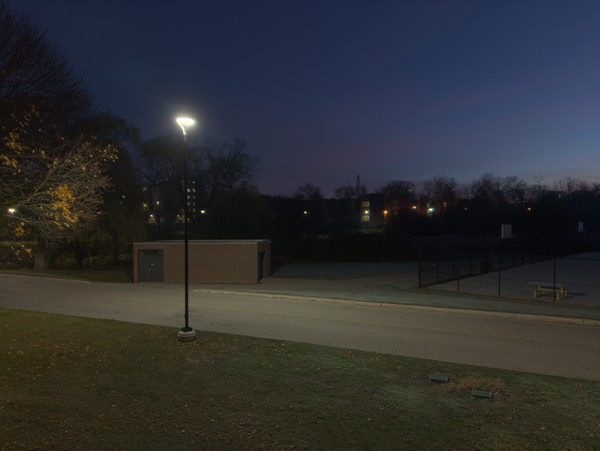
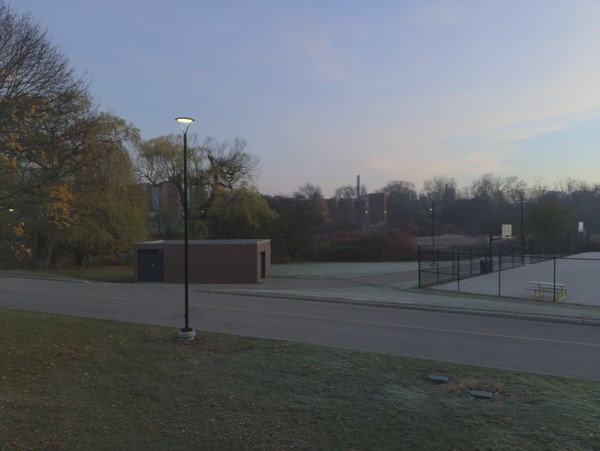
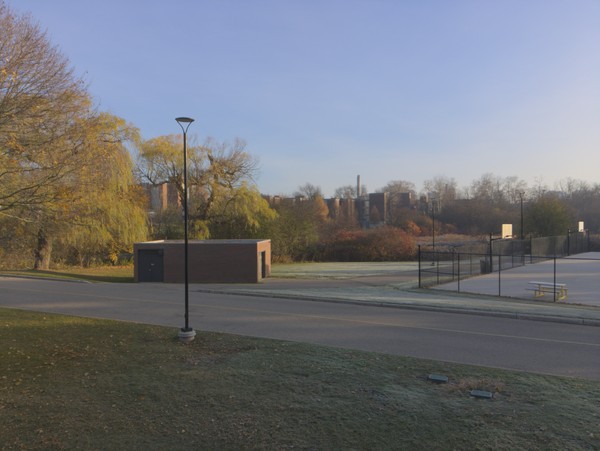
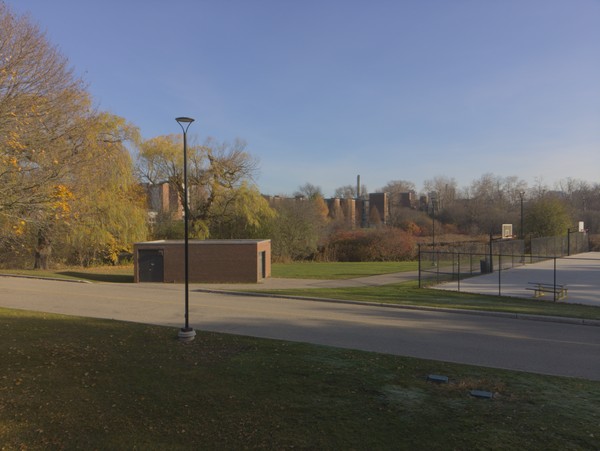
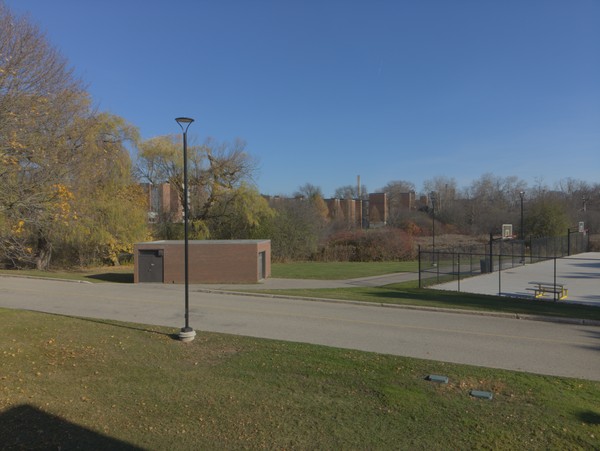
our image becomes darker, since it's in the early morning.
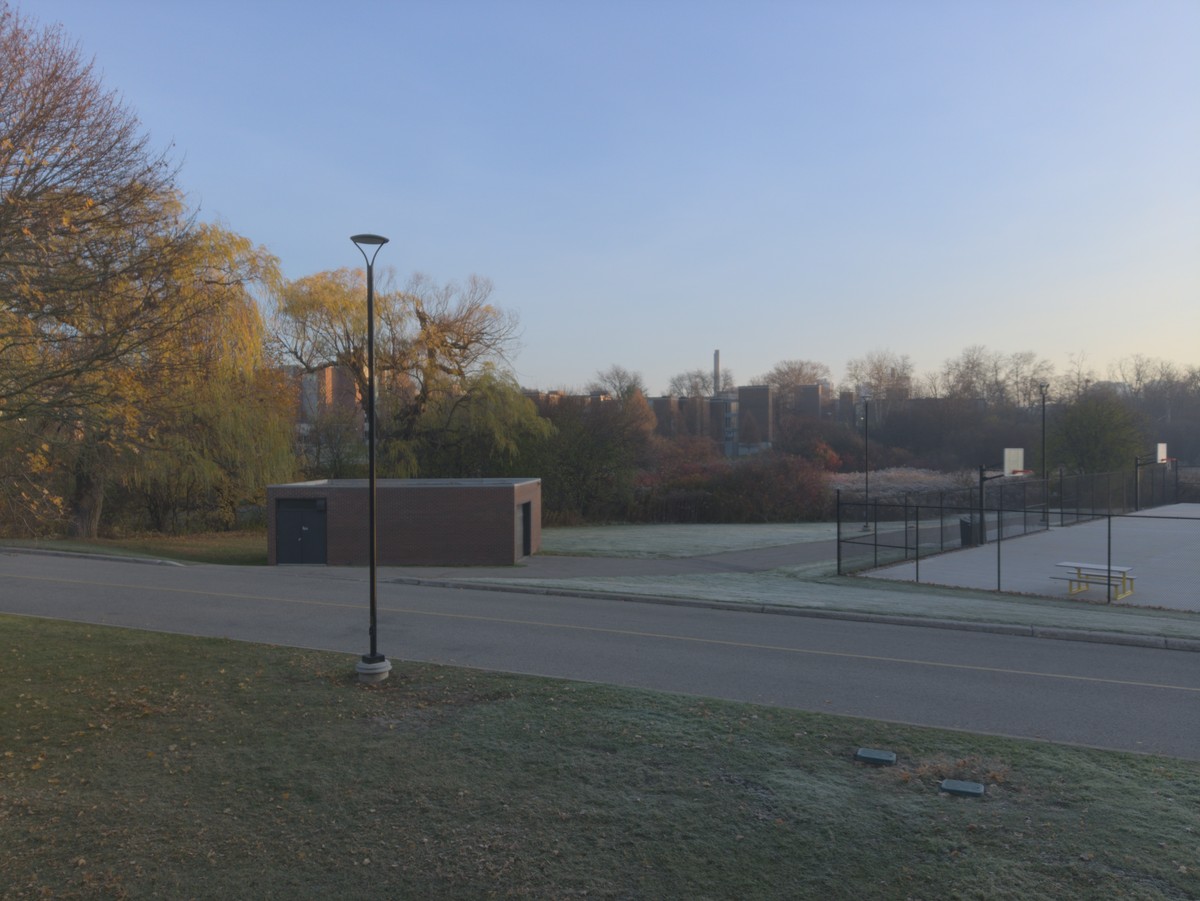
nov 21, 7:50 am
6. color grading
- one photo
- merged
- vignette
- speckle
- white balance
- exposure
- sdr grade
right now our image looks flat and washed out, since we've prioritized preserving detail while getting the basics right. color grading brings the contrast and coloring back, and to take advantage of the extra brightness in hdr.
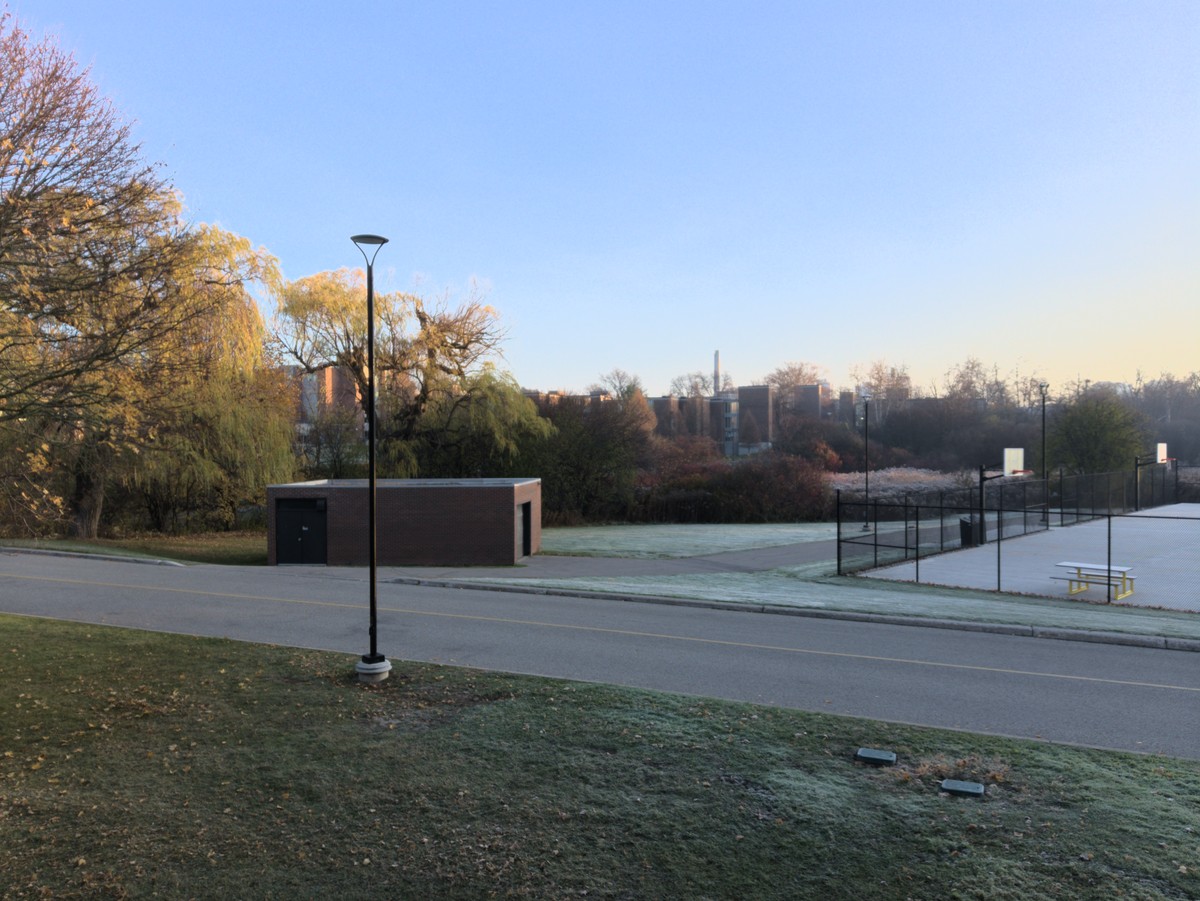
nov 21, 7:50 am
flat dusk is naturally pretty dull and low in contrast, so i added a shadow floor which deepens shadows in flatter frames
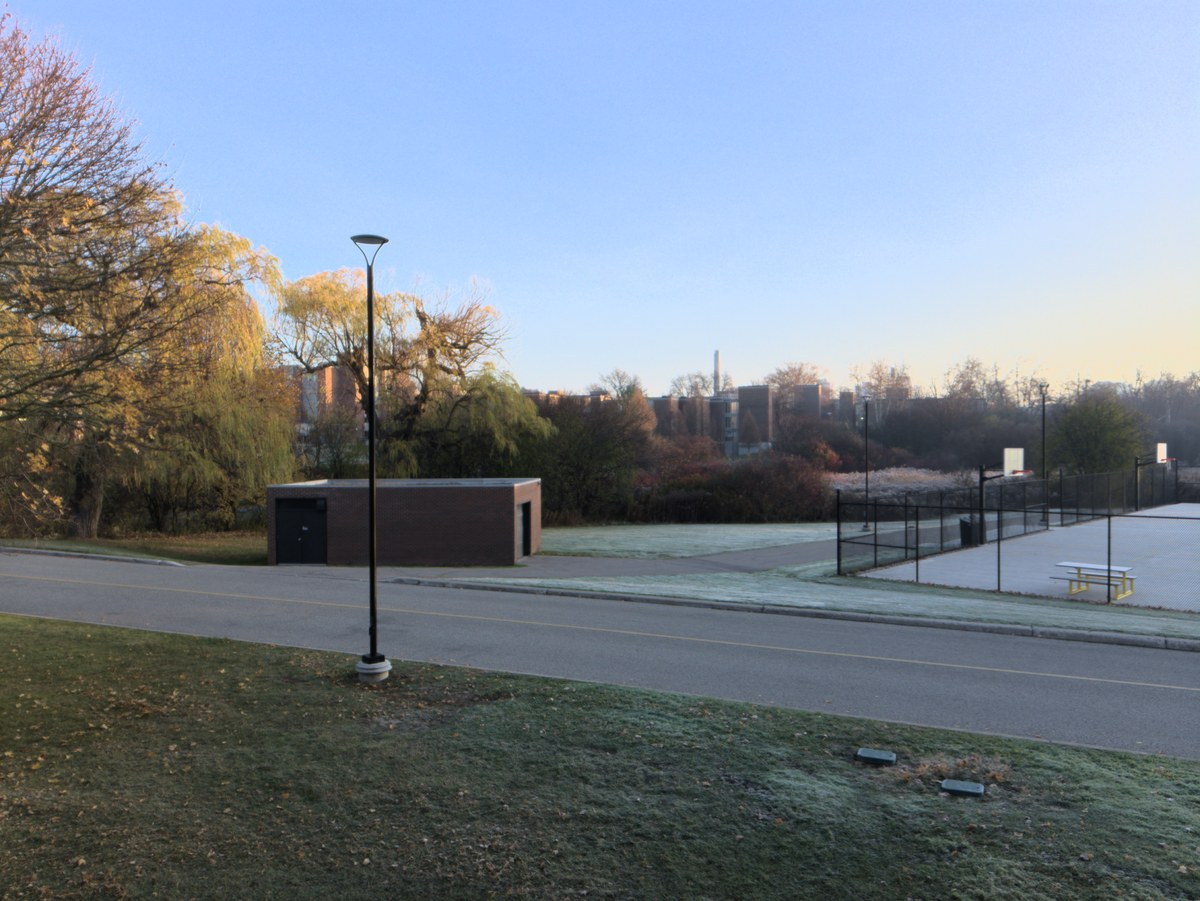
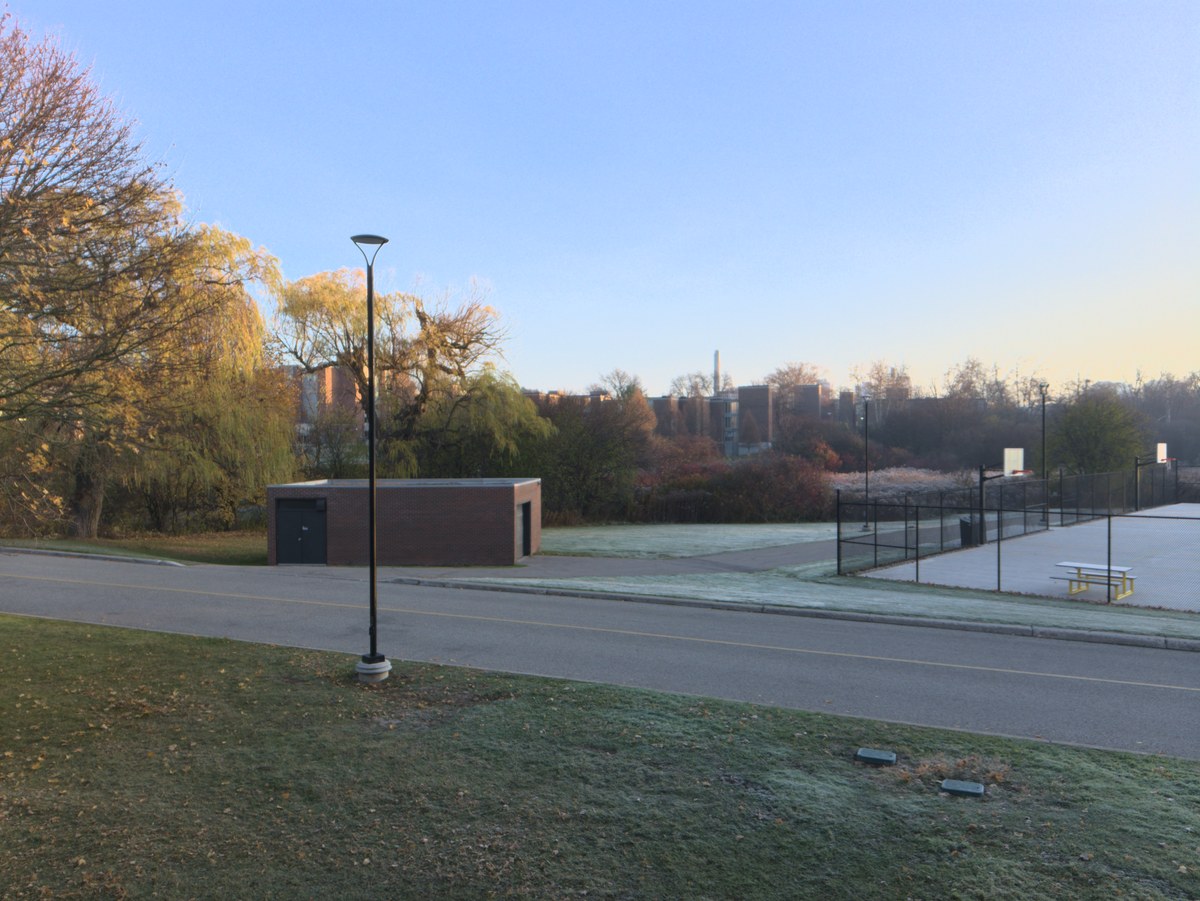
nov 21, 7:50 am
this step took hours to get right, and it was so painfully slow since i needed to make sure it looked good at varying times of the day and lighting conditions.
if you have an hdr display, you'll see a difference, otherwise, it'll just be the same image.

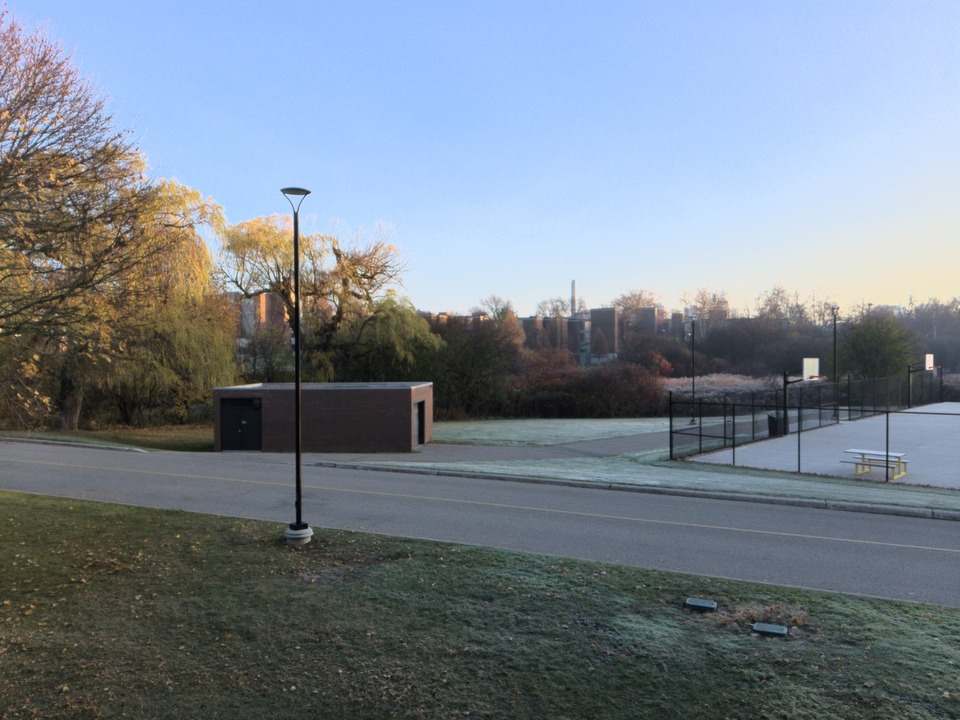
nov 21, 7:50 am
sdr7. hdr to sdr
- one photo
- merged
- vignette
- speckle
- white balance
- exposure
- sdr grade
so far we've been working with hdr images, but most displays are sdr and by default, it looks pretty inconsistent across displays since by default each one does conversion differently.
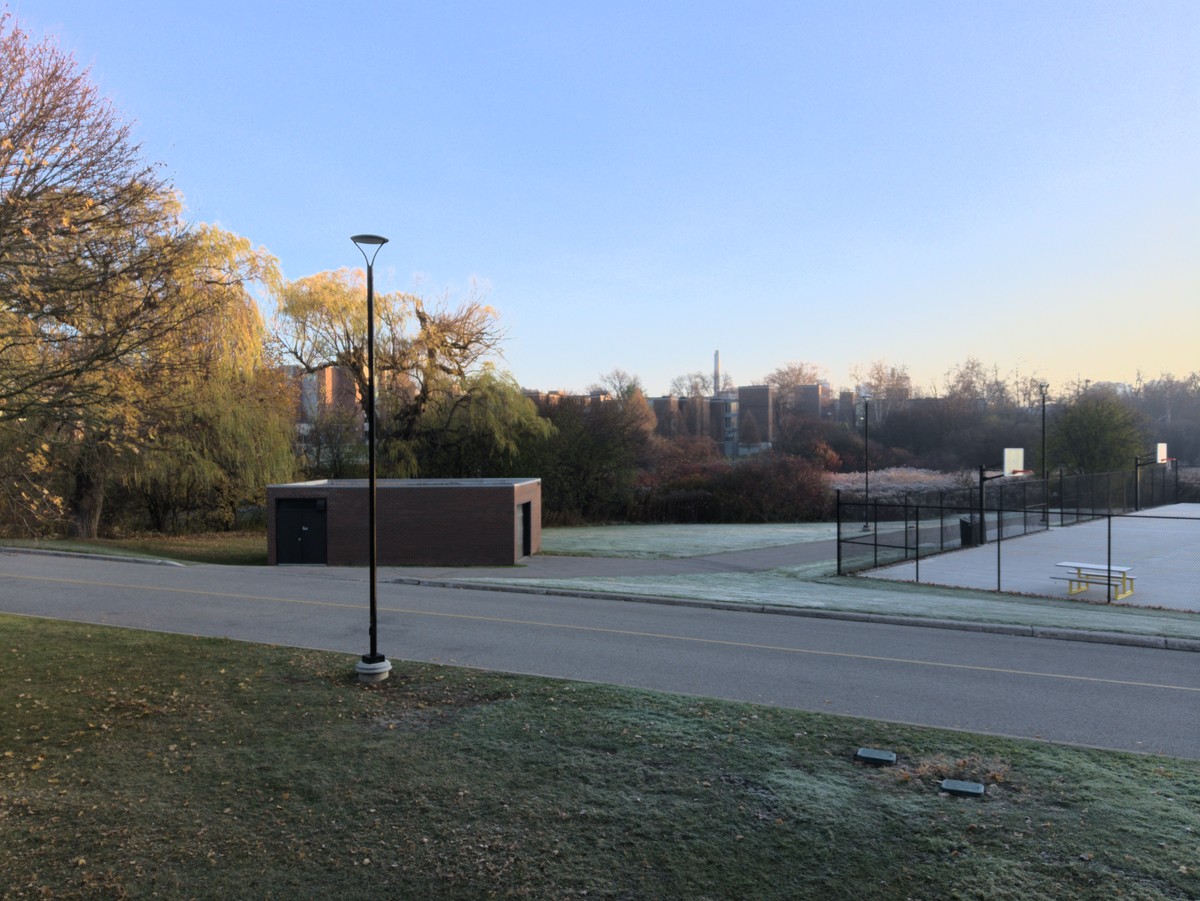
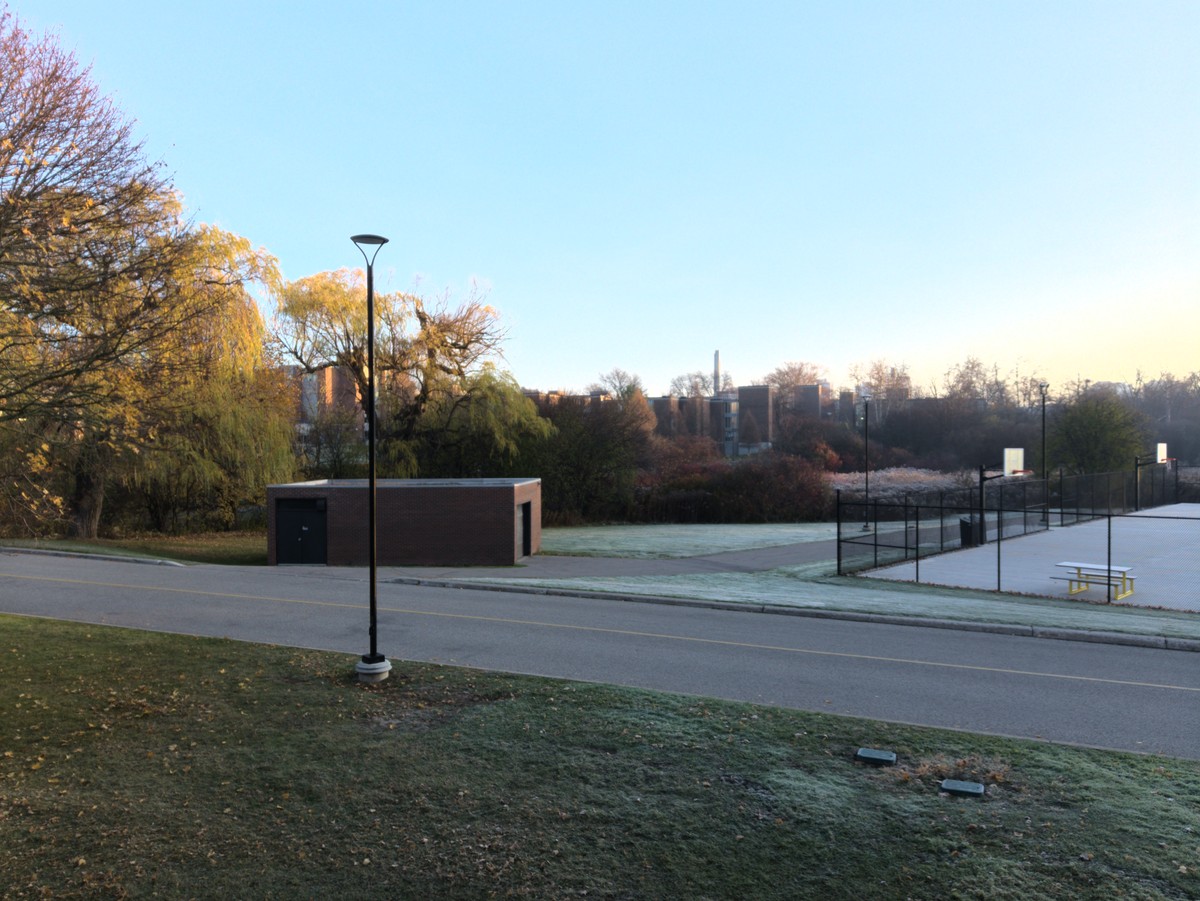
nov 21, 7:50 am
youtube's default also looks pretty bad...
here's my lut compared to youtube's, it's quite different.
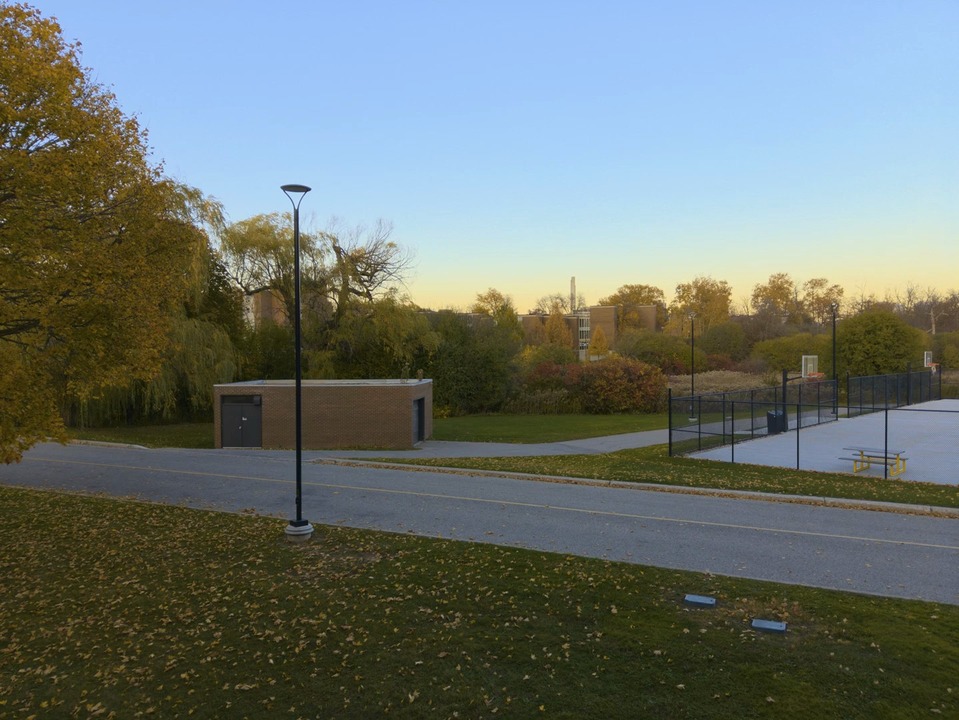
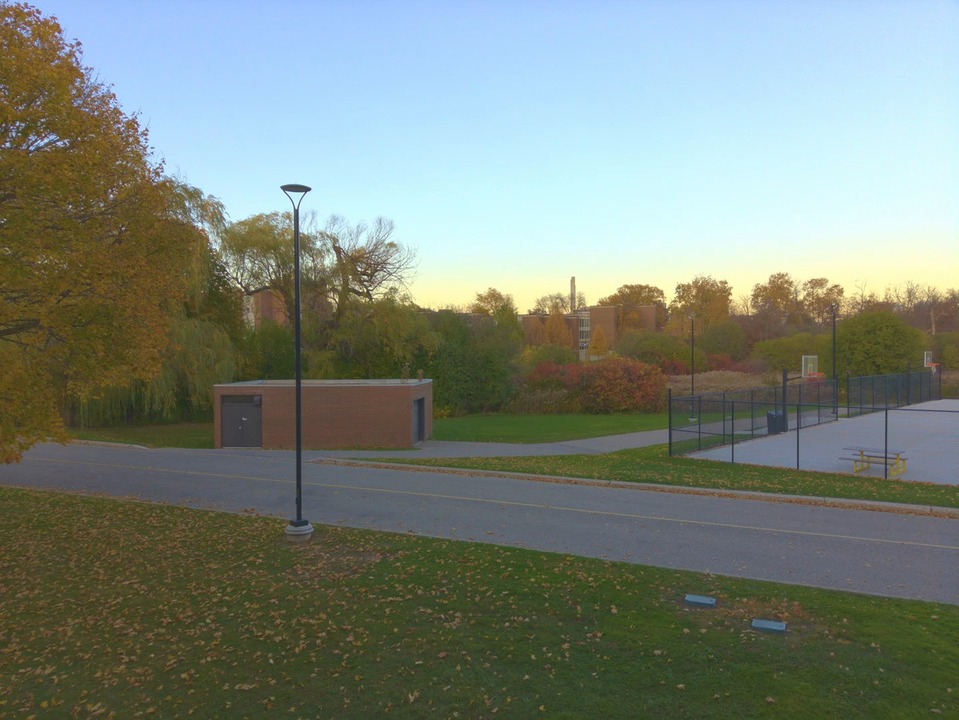
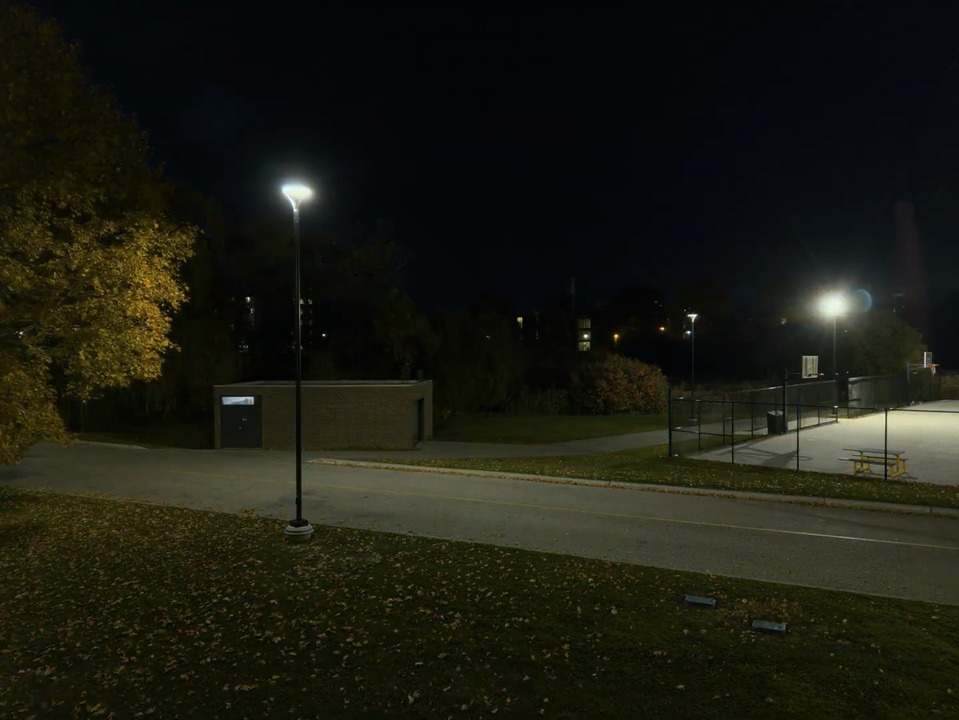
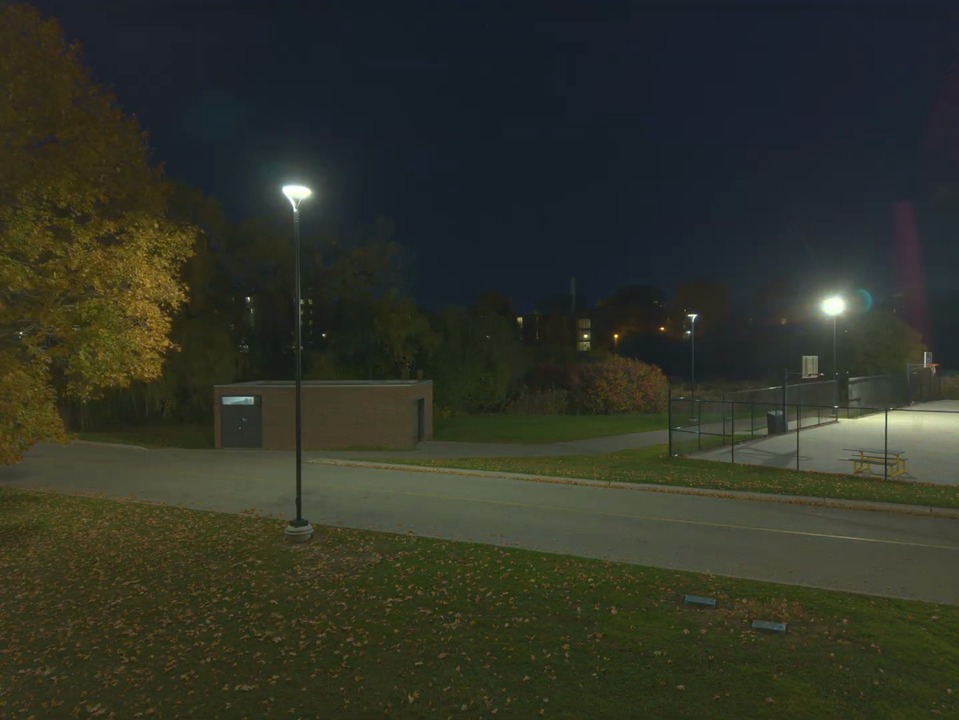
oct 31, 5:43 pm and 7:06 pm
fun bugs along the way...
magenta lamps
areas overexposed even in the lowest exposure ended up to be magenta. no frames were trustworthy, so the merger just guessed.
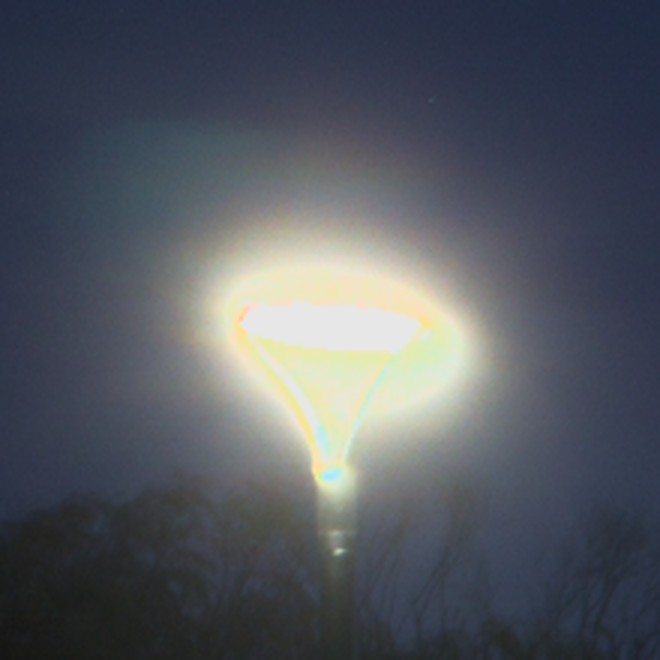
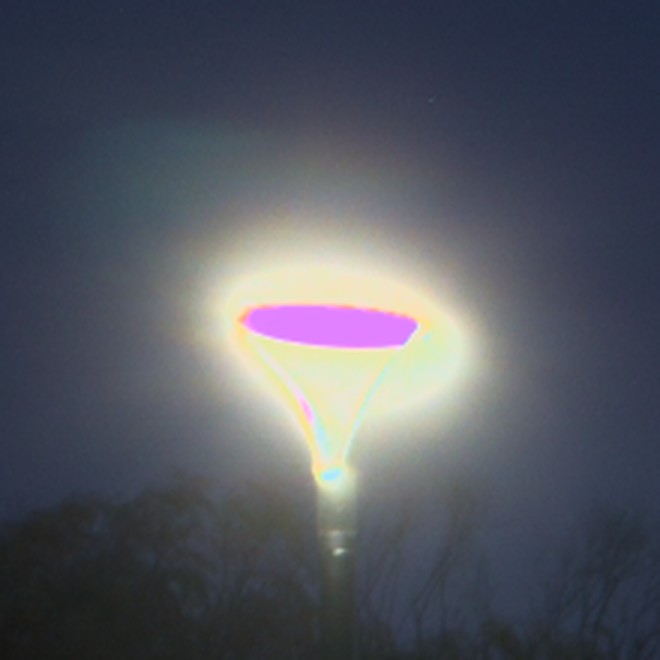
3× zoom. nov 21, 6:40 am
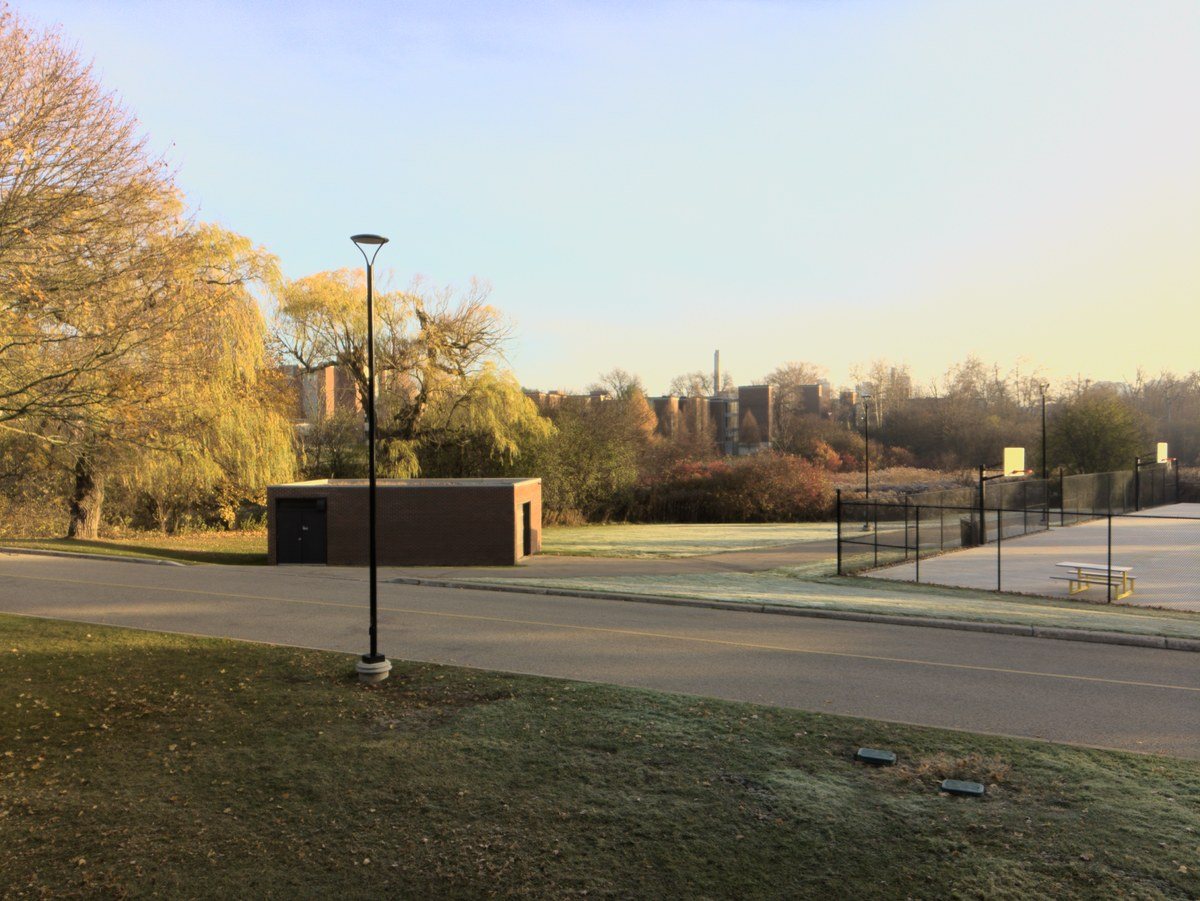
pale sky
when a sky is too bright, we only dimmed the bright channel instead of all, causing blue to be lost in the sky.
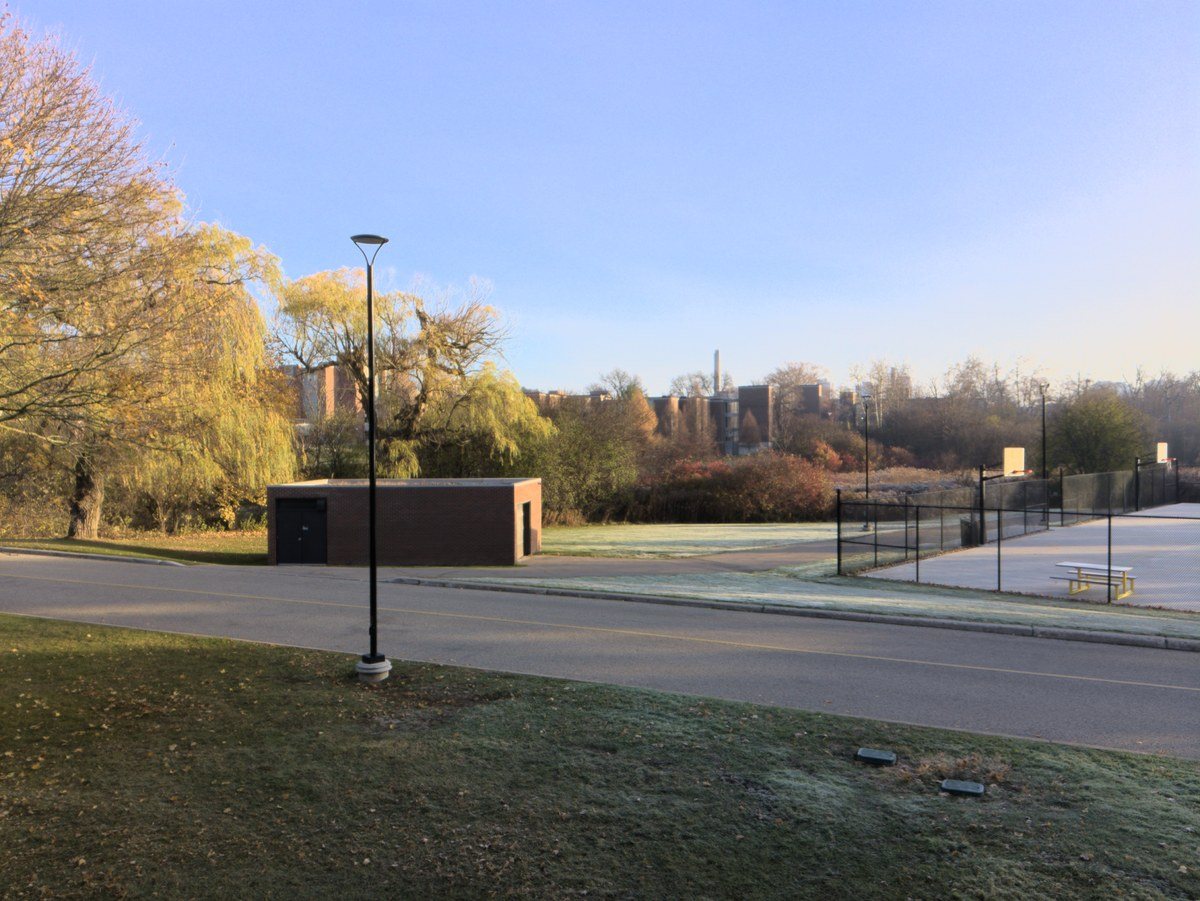
nov 21, 8:26 am
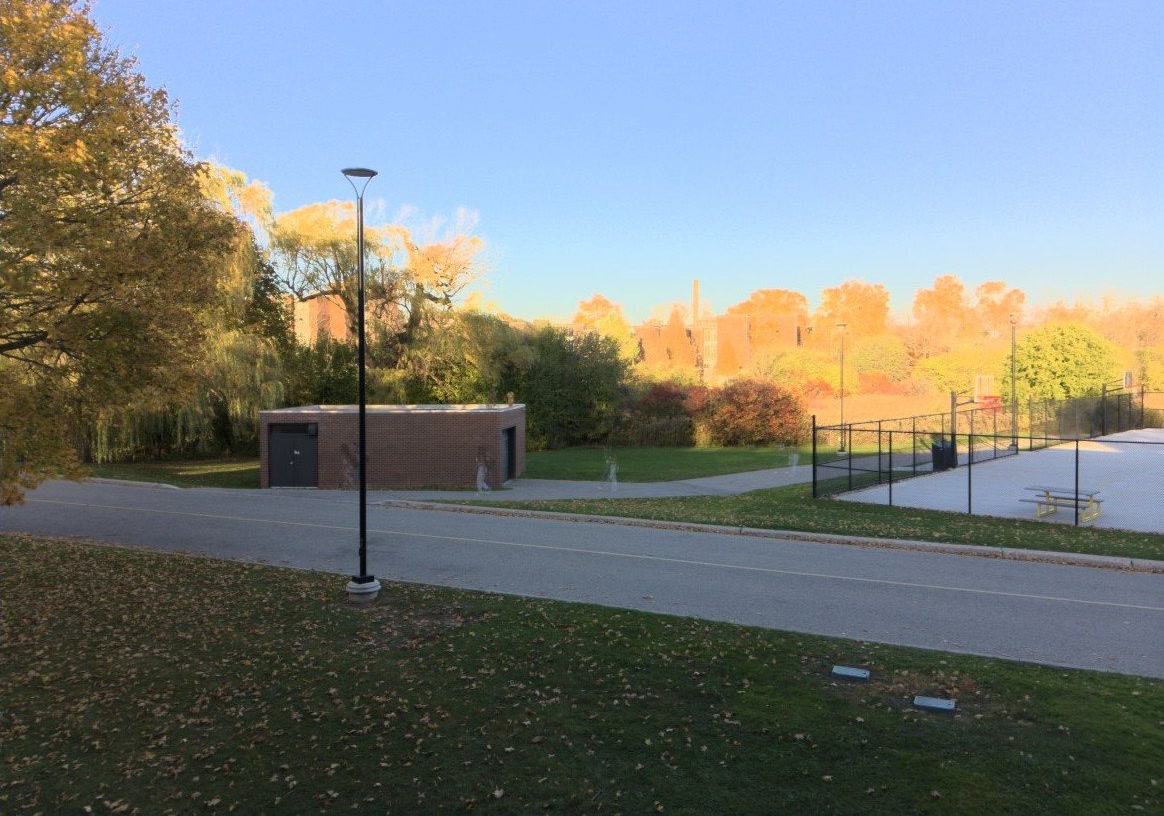
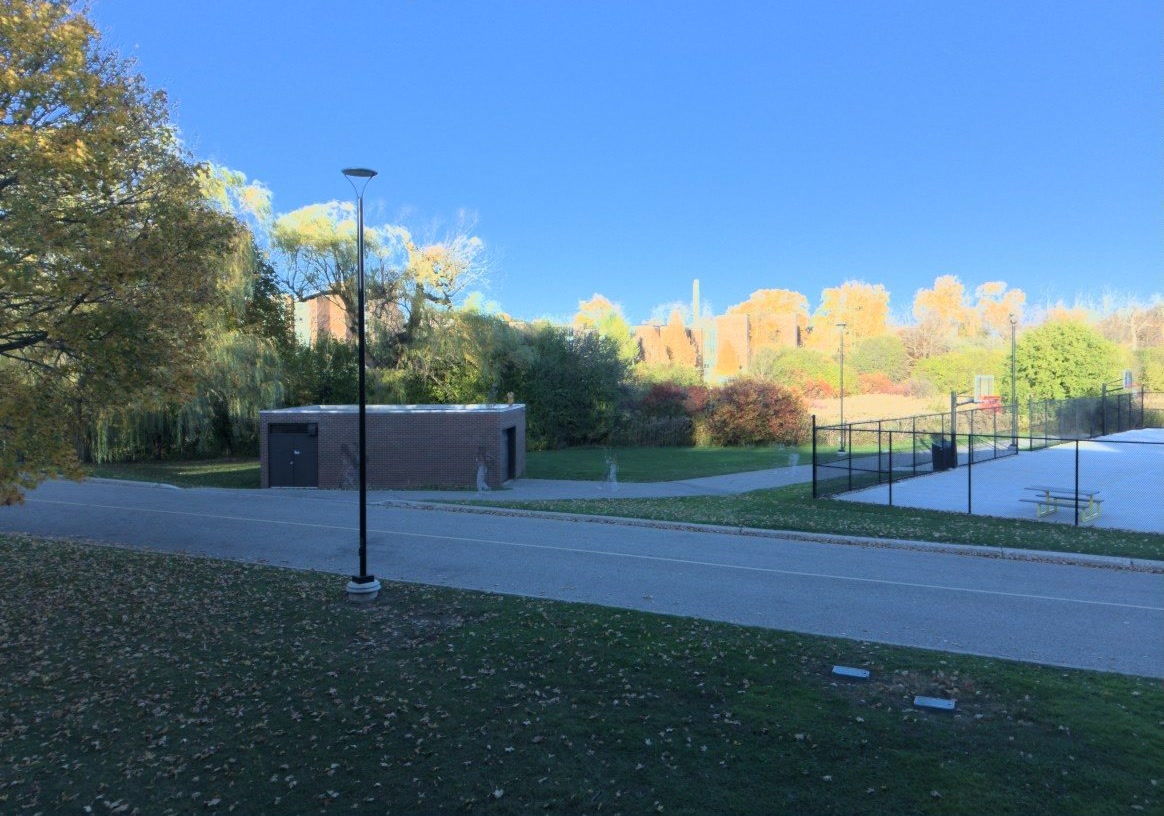
leaves messing with white balance
in certain lighting conditions the grey-pixel treated yellow leaves as neutral grays. they're now ignored when it doesn't make sense.
nov 1, 4:10 pm